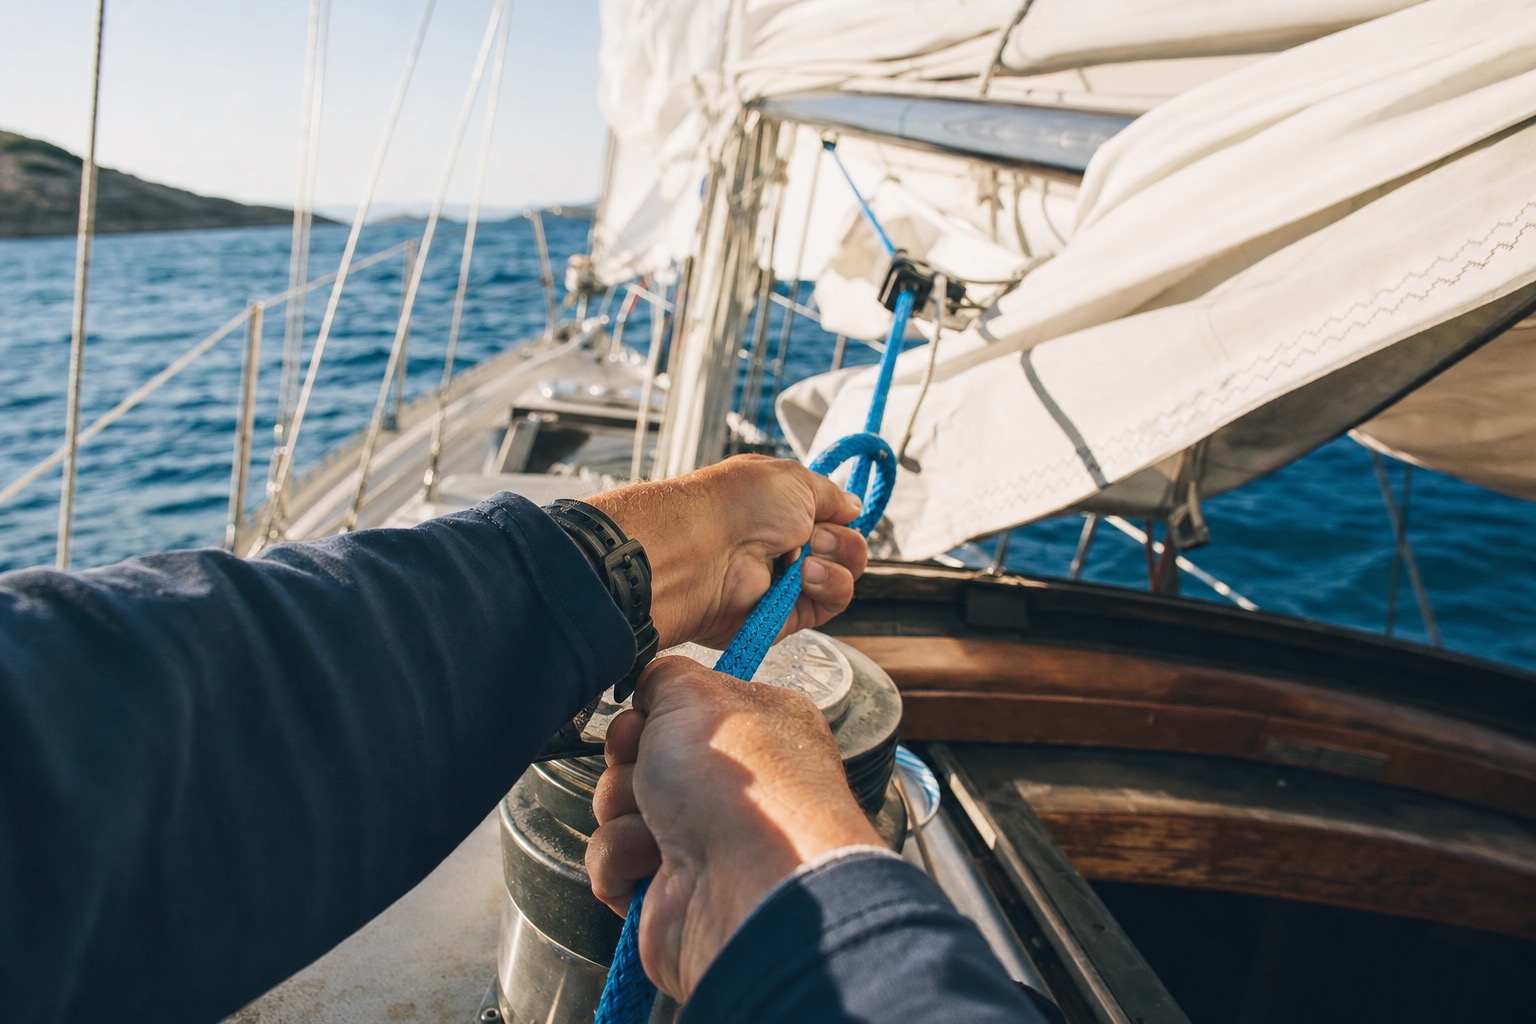


When you install a genoa furler or code 0 system, the furling drum sits at the tack. Pull the furling line and the sail rolls up. Simple enough — but the line has to travel from the drum all the way back to the cockpit, and without the right blocks in the right places, you end up with line chafe, excessive friction, or a line that becomes hard work to pull in 20 knots of breeze.
The good news: choosing the right blocks is not complicated once you understand the three positions the line must pass through and what each position demands.
Three positions every furling line needs to pass through
Every furling system requires at least three redirection points between the drum and the cockpit:
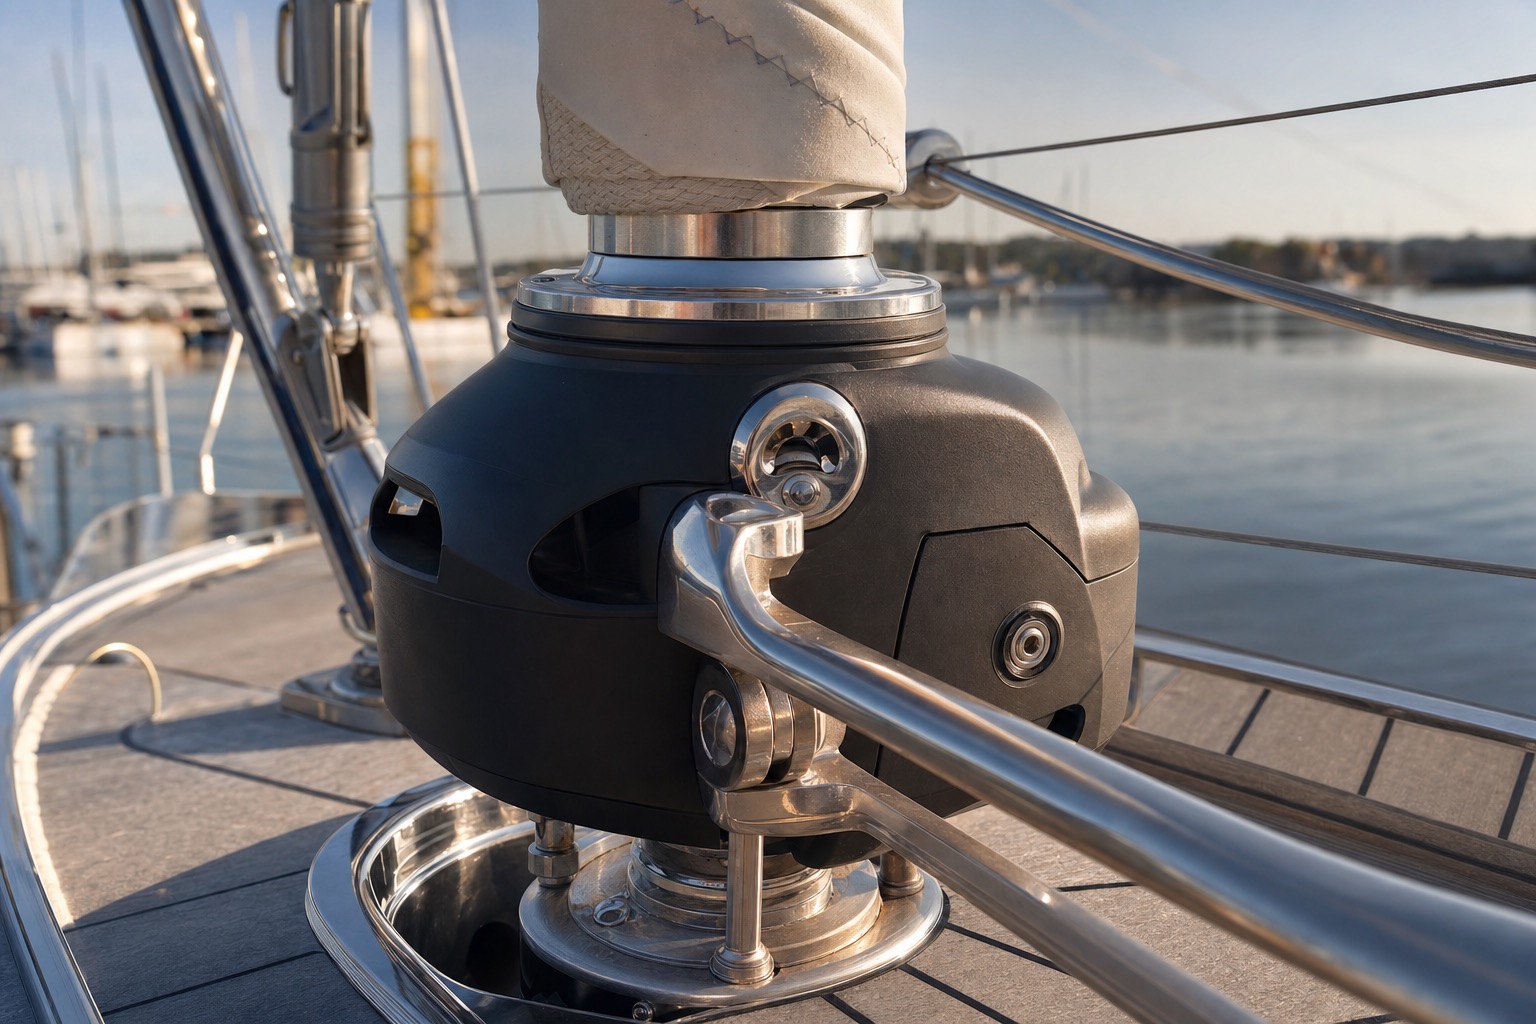
Position 1 — the mast base turning block. This is where the furling line leaves the drum area and turns aft along the deck. It takes the highest load of the three, because it redirects the full pulling force from the drum. It should always be a standing block (deck-mounted with a fixed bracket), positioned close to the mast base so the line runs parallel to the deck from that point on.
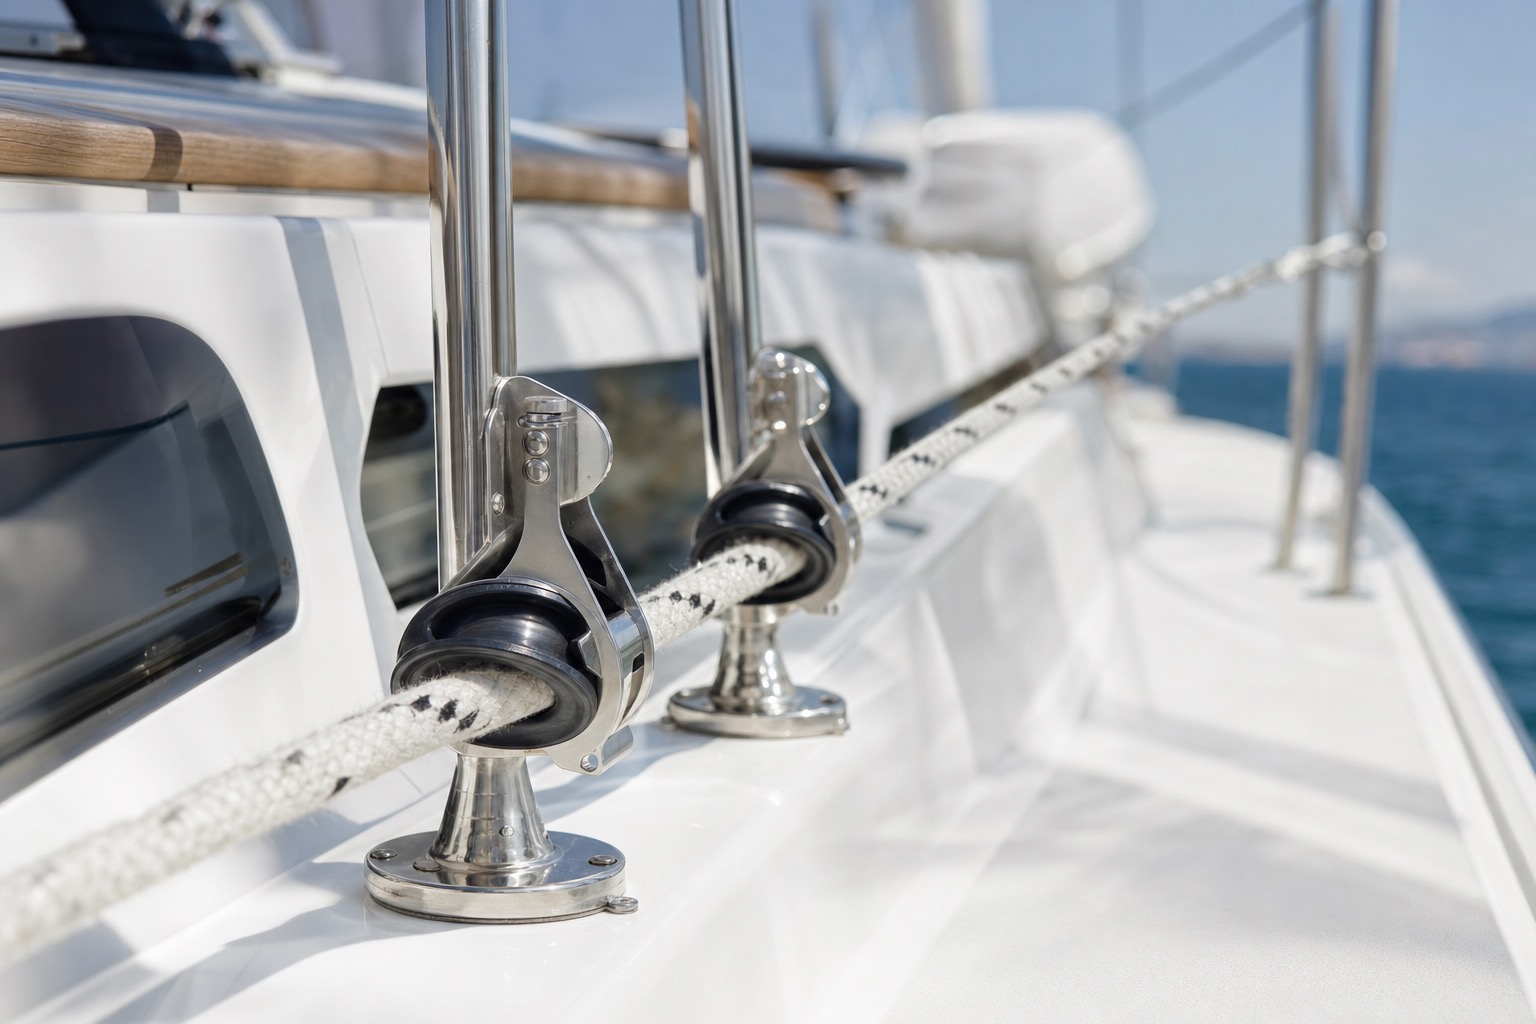
Position 2 — deck routing blocks. Between the mast and the cockpit, the line needs to be guided along the side deck without dragging over stanchion legs, cleat bases, or deck hardware. Depending on your layout, this might be one block or three. These blocks carry a moderate load and need to run with low friction — the line passes through them dozens of times per sailing day.
Position 3 — the cockpit entry block. The last turn before the line reaches your hand or the winch. This position sees the lowest load but the highest frequency of use. A ratcheting version here gives you easy control: the ratchet engages when furling under load and releases freely when you want to unfurl.
Matching block size to your furling line diameter
The most common mistake is picking a block that looks "about the right size" instead of checking the sheave range against the actual line diameter. A sheave that is too small grips the line and creates binding. A sheave that is too large lets the line shift sideways under load. The line should sit comfortably in the middle of the block's stated diameter range.
For the most common furling line sizes, the 123Furling team recommends the following:
| Furling line diameter | Recommended block size | Typical boat size |
|---|---|---|
| 6-8 mm | 30-40 mm sheave (PBB 40, BBB 30) | up to 32 ft |
| 8-10 mm | 40-50 mm sheave (BBB 40, PBB 50) | 32-40 ft |
| 10-12 mm | 50-60 mm sheave (PBB 50, PBB 60) | 40-50 ft |
| 12-14 mm | 60-70 mm sheave (PBB 60, PBB 70) | over 50 ft |
If you have not chosen your furling line yet, our guide to furling line diameter and length explains exactly how to pick the right size for your boat and system. The line diameter determines your block size — so settle that first.
PBB or BBB: when ball bearings are worth the extra cost
Selden's block range splits into two main series: PBB (plain bearing) and BBB (ball bearing). The price difference is typically around 10 to 15 euros per block. Whether that is worth it depends on position:
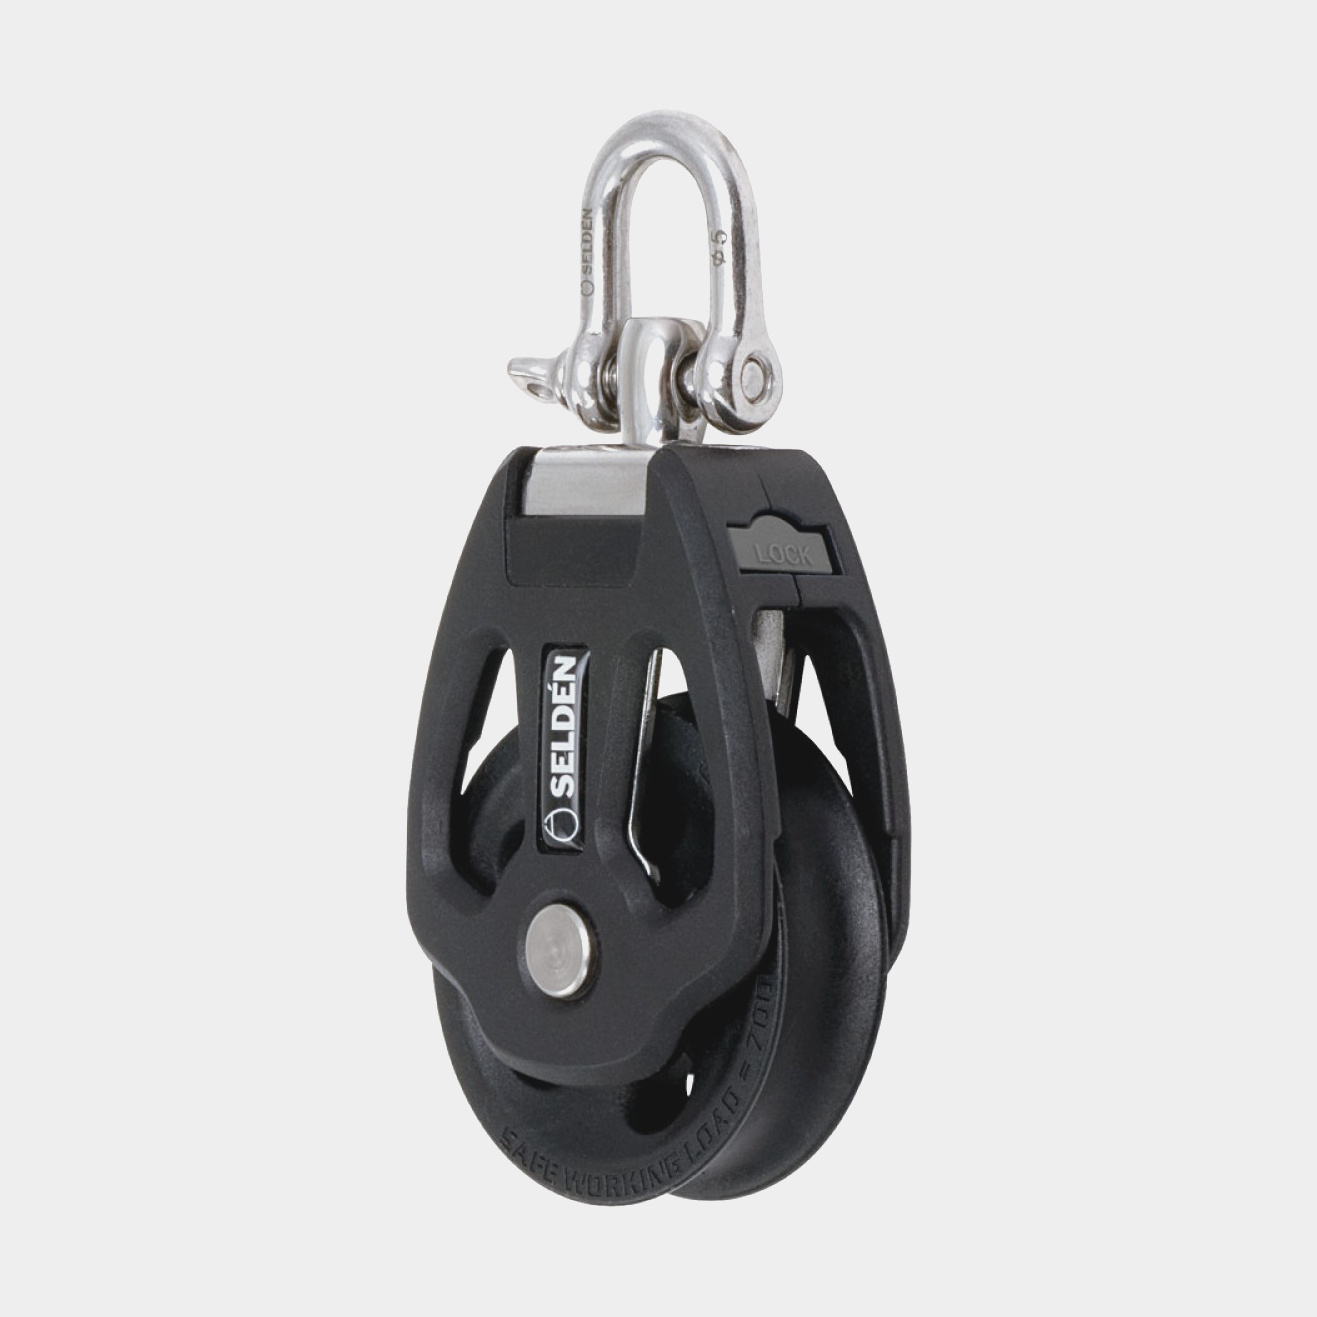
Mast base turning block: ball bearing, always. This block redirects the highest load, and friction here compounds over the full run to the cockpit. The Seldén BBB 30 Standing Block at €29.77 is only a few euros more than the plain bearing equivalent and will last noticeably longer under daily use.
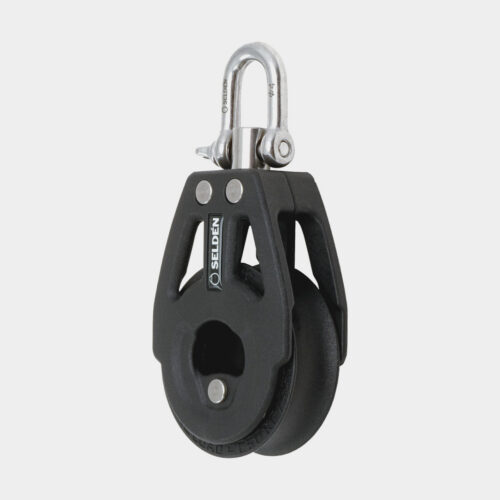
Deck routing blocks: ball bearing is usually the better call. The line runs through these constantly. Lower friction means less effort furling in a breeze and less wear on the line over time. The Seldén BBB 40 with D-shackle (€39.04) is the most-used block in our 32-44 ft range for this reason.
Cockpit entry: plain bearing is fine. When you use a ratcheting block at the cockpit end, the ratchet mechanism does the control work — the bearing load is low. A Seldén PBB 50 (€29.59) at this position is perfectly adequate.
The exception: very large boats with lines over 12 mm. At that size, plain bearing blocks like the PBB 70 actually deliver a higher safe working load at a lower price point than their BBB equivalents. For boats over 50 ft, PBB 60 or PBB 70 at the routing positions often makes more sense than ball bearing.
The mast base standing block: most sailors get this wrong
Using a D-shackle block at the mast base instead of a standing block is the single most common mistake we see at 123Furling. A D-shackle block hangs freely and swings as the boat moves. The furling line then runs through the sheave at constantly changing angles, wearing unevenly and occasionally jumping off the sheave when the line goes slack. Over a season, this adds up to a damaged line and a loose attachment point.
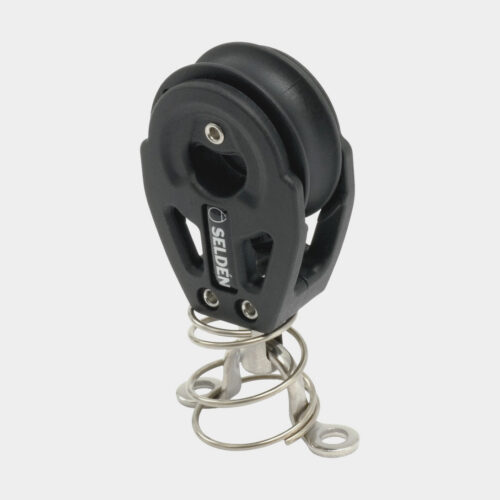
A standing block like the Seldén BBB 30 Standing Block fixes this completely. It has a deck bracket that holds the block in the correct orientation at all times. The spring mechanism keeps the line in the sheave even when slack. Mount it as close to the mast base as possible, oriented so the line exits the drum and turns aft with a gentle deflection rather than a sharp bend — a tight bend at the drum is where furling lines tend to fail first.
Routing along the deck: stanchion blocks or straight run?
Between the mast base block and the cockpit, you have two practical options: stanchion-mounted blocks or a straight run through deck-mounted fairleads.
Stanchion blocks mount on the stanchion base and keep the line close to the side of the boat, out of the way of foot traffic. They work well, but only if the stanchion position creates an actual direction change in the line. A block that the line runs through at nearly 180 degrees (straight through, barely deflecting) is adding friction without doing anything useful. Before drilling any holes or buying blocks, run the line loosely from the mast base block to the cockpit and see where the natural path wants to go.
Where the line would otherwise rub against a stanchion leg, cleat, or deck fitting — that is where you put a block. Where the line runs freely in the air, no block is needed. The fewest blocks that keep the line clear of the deck is always the best setup.
For boats where the line routes partly below deck before emerging at the cockpit, a tie-on block at the deck exit gives the line a clean transition without needing a fixed mount point.
Practical block selection by boat size
Based on what the 123Furling team sees working consistently across different boat types:
- 28-35 ft boats: BBB 30 standing at mast base + one or two BBB 30 or BBB 40 routing blocks + PBB 40 or PBB 50 at cockpit. Hardware cost roughly €60-100.
- 36-44 ft boats: BBB 30 or BBB 40 standing at mast base + BBB 40 or BBB 60 routing blocks + PBB 50 at cockpit. Hardware cost roughly €100-150.
- 45-55 ft boats: BBB 40 standing at mast base + BBB 60 routing blocks + PBB 60 at cockpit. Hardware cost roughly €140-190.
If you are sourcing a new furling line at the same time, our endless spliced furling line comes in 8, 10, and 12 mm with the splice already done. Choose the diameter first, then match the blocks to it.
For bearing type comparisons and more detail on block construction, see our guide to bearing types in sailing blocks.
Still uncertain which combination fits your specific setup? Use the 123Furling product advisor or email info@123furling.com with your boat length and forestay diameter — we can suggest the right blocks from the range.