


You pull the furling line, but nothing happens. Or worse, you try to unfurl your headsail and it stops halfway. A stuck roller furler is one of the most frustrating problems you can face on a sailboat. The good news is that most causes are easy to diagnose and fix once you know what to look for.
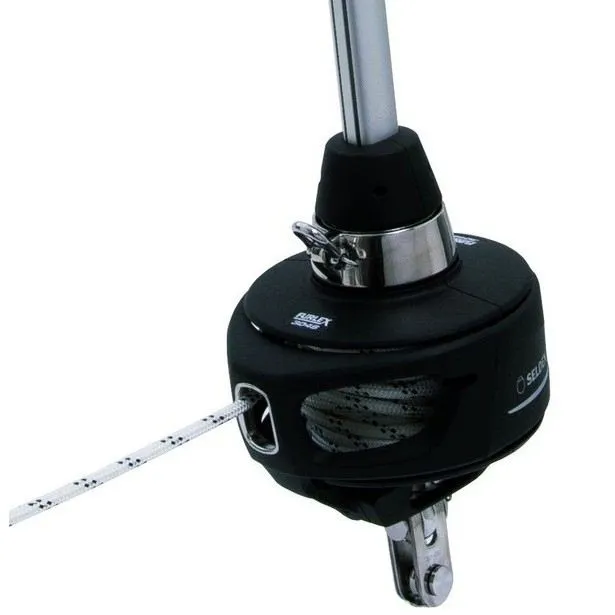
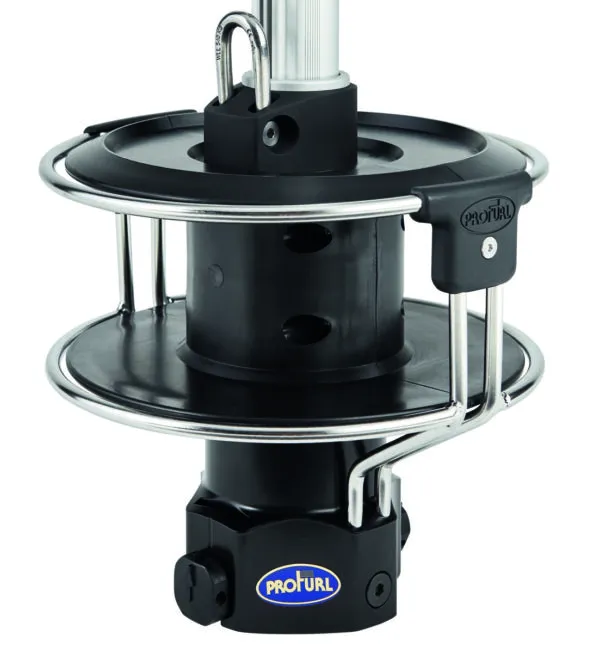
In this guide, we explain the seven most common reasons why roller furlers get stuck. More importantly, we show you how to fix each problem and prevent it from happening again. Whether you have a Seldén Furlex, Profurl, Harken, or Facnor system, these principles apply to all roller furling equipment.
1. Halyard wrap around the forestay
Halyard wrap is the most common cause of a stuck roller furler. It happens when your genoa halyard wraps around the top of the forestay as you furl the sail. Once wrapped, the halyard locks the upper swivel in place. The furler cannot turn, no matter how hard you pull the furling line.
This problem usually starts small. The halyard makes one wrap around the foil. You might not even notice it at first. But each time you furl and unfurl, the wrap gets tighter. Eventually, the system locks up completely. In severe cases, the halyard can damage the foil extrusion or even the forestay itself.
Why does halyard wrap happen?
The main cause is the angle between your halyard and the forestay. When the halyard runs almost parallel to the forestay, it can easily wrap around it. This happens when the halyard exits the mast too high, or when the halyard is too long and hangs loosely near the top of the sail.
Low halyard tension makes the problem worse. When the halyard is loose, it swings around as the boat moves. This swinging motion allows it to wrap around the foil during furling.
How to fix it
First, you need to unwrap the halyard. This usually requires going up the mast in a bosun chair. Once at the top, carefully unwrap the halyard from around the foil. Check for any damage to the halyard, foil, or swivel bearings.
To prevent future wraps, install a halyard restrainer. This is a small fitting that mounts just below the masthead sheave. It forces the halyard to approach the swivel at an angle of 10 to 15 degrees. This angle is too steep for the halyard to wrap around the foil. Most quality furlers like the Seldén Furlex include a halyard restrainer in the kit.
Also check your halyard tension before every sail. The luff of your headsail should be tight, with no visible sag in the forestay. If you can see the foil curving, your halyard needs more tension.
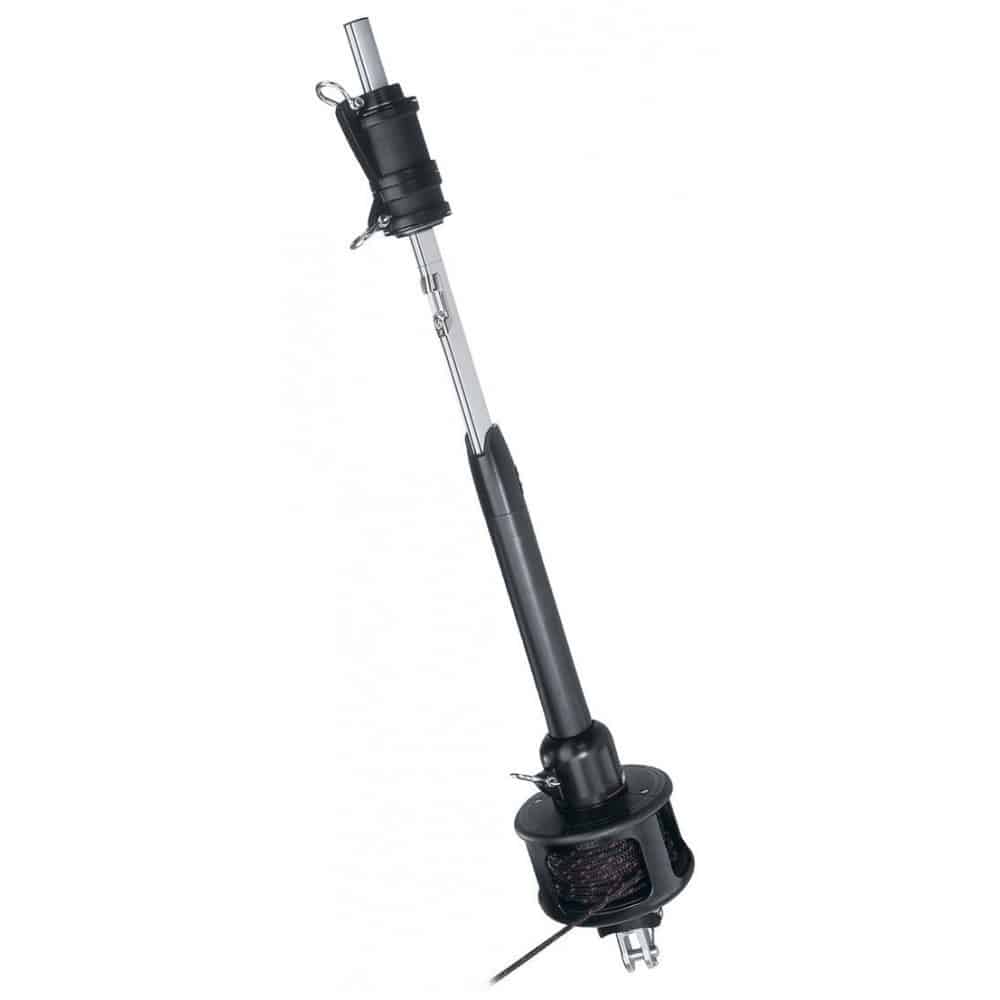
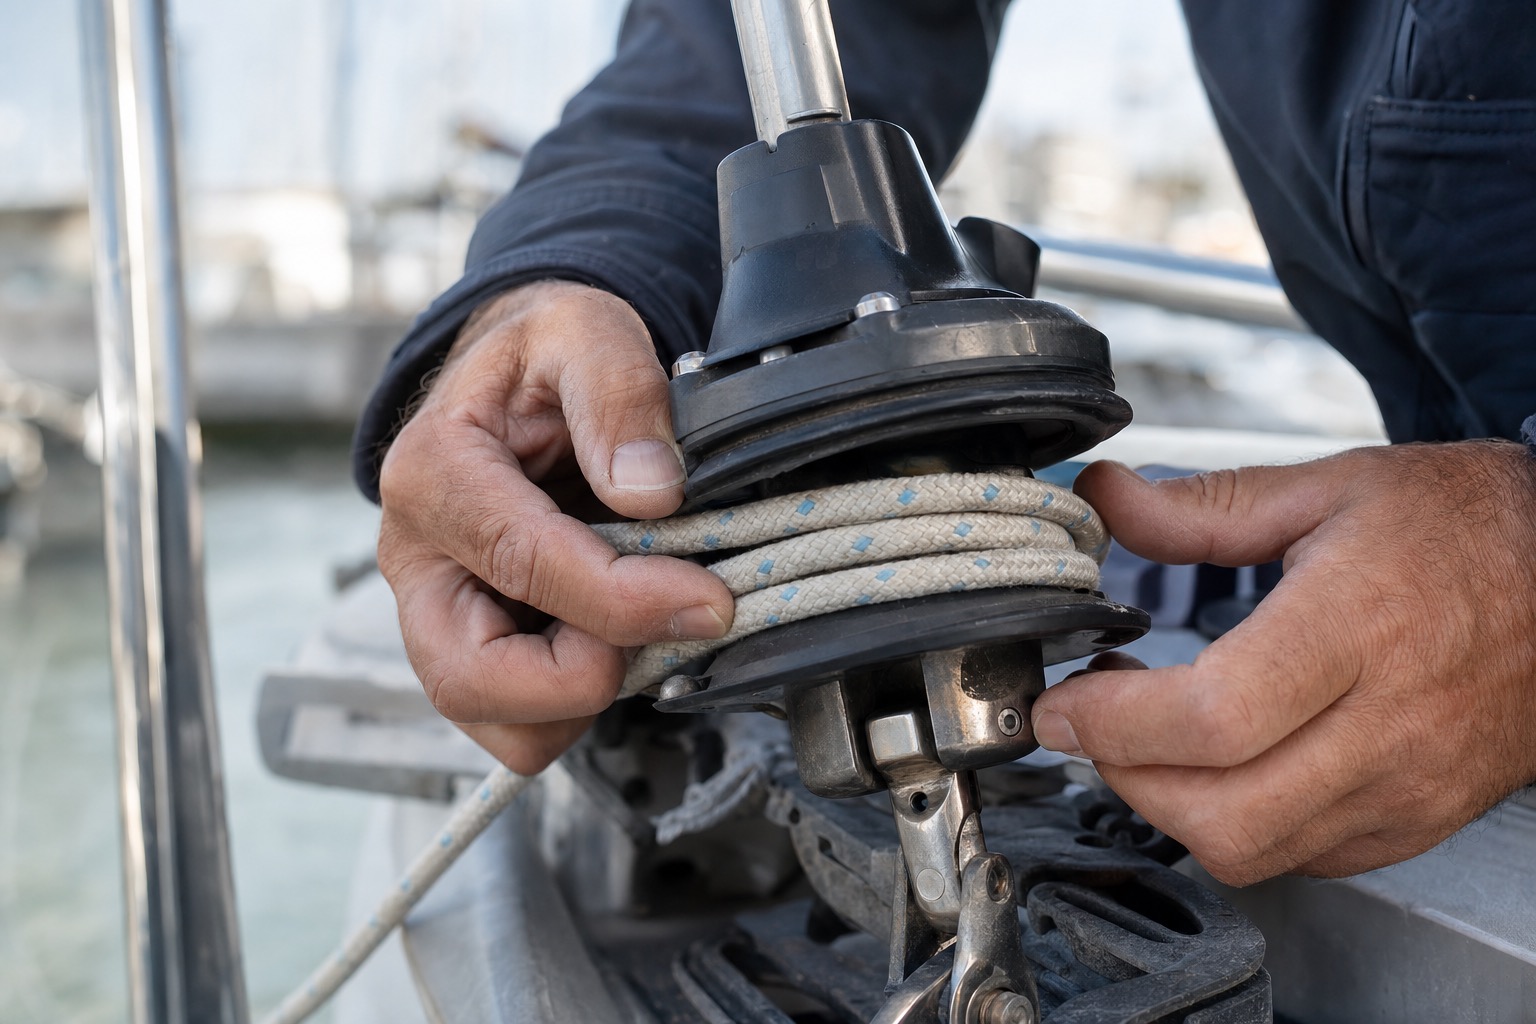
2. Furling line jammed in the drum
The furling drum at the bottom of your forestay stores the furling line as you unfurl the sail. When this line jams, the drum cannot rotate. The sail stays stuck in whatever position it was in when the jam occurred.
Line jams usually happen when the furling line builds up unevenly on the drum. Instead of neat, side-by-side wraps, the line piles up on one side. These riding turns eventually lock against each other. No amount of pulling will free them.
Why does line jamming happen?
The most common cause is the wrong lead angle to the drum. Your furling line should enter the drum at exactly 90 degrees to the forestay. If the first turning block is positioned incorrectly, the line enters at an angle. This angle causes the line to stack up on one side of the drum.
Another cause is unfurling too fast without enough sheet tension. When you release the furling line quickly and the jib sheets are loose, the sail snaps open. The furling line pays out faster than it can wrap neatly on the drum.
How to fix it
If the line is jammed, you may need to open the drum to clear it. Many modern drums have access covers for this purpose. Remove the cover and manually unwrap the tangled line. While you have the drum open, check for any wear or damage to the line.
To prevent future jams, check the position of your first turning block. It should lead the furling line at 90 degrees to the drum. If needed, move the block or add a second block to correct the angle.
Also change your furling technique. When unfurling, keep light tension on the furling line as it pays out. This controlled release allows the line to wrap neatly when you furl again. Never let the furling line run free while unfurling.
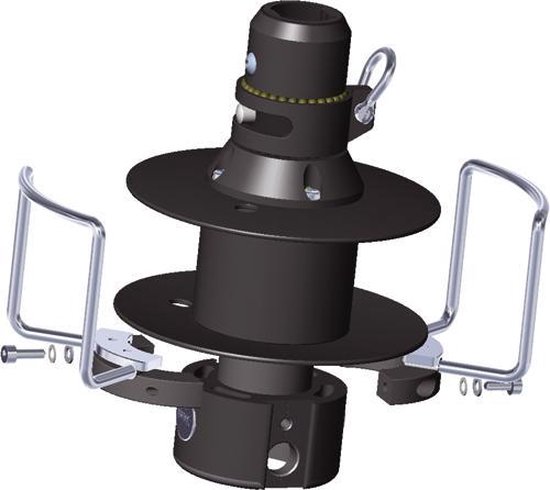
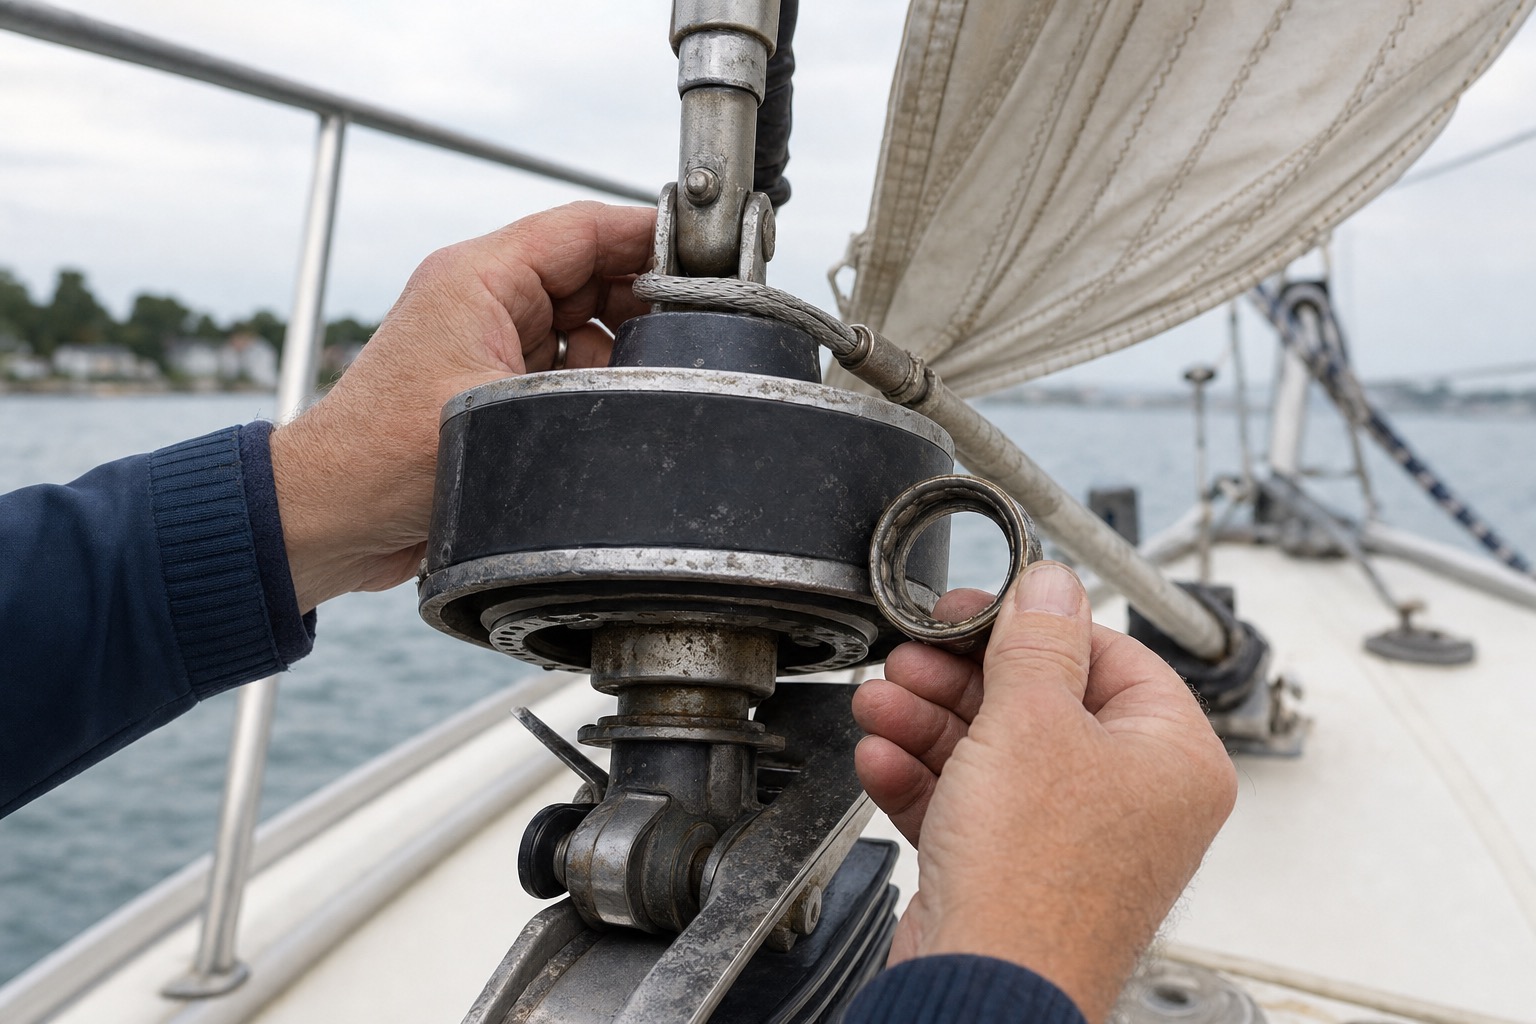
3. Seized or dry bearings
Your roller furler has bearings in two places: the upper swivel at the head of the sail, and the lower drum at the tack. These bearings allow the foil to rotate smoothly around the forestay. When bearings seize or run dry, the system becomes stiff or stops completely.
Bearing problems develop slowly over time. You might notice that furling requires more effort than before. The motion feels rough or gritty instead of smooth. In some cases, you hear grinding noises when you furl. These are all warning signs that your bearings need attention.
Why do bearings seize?
Salt water is the main enemy of furler bearings. Salt crystals form inside the bearing races as water evaporates. These crystals act like sandpaper, grinding away at the bearing surfaces. Over time, the damage causes the bearings to seize.
Lack of maintenance accelerates the problem. Bearings need regular flushing with fresh water to remove salt deposits. Some systems also need periodic lubrication. If you sail in salt water and never maintain your furler, bearing problems are almost guaranteed.
How to fix it
Start with the simple solution: fresh water flushing. Remove your sail and flush both the upper swivel and lower drum with plenty of fresh water. Work the mechanism back and forth as you flush to help clear any salt deposits. Let everything dry completely.
After flushing, check if the bearings turn smoothly. Spin the upper swivel by hand. It should rotate freely with no rough spots or grinding. Do the same test with the lower drum. If either feels rough, you need further service.
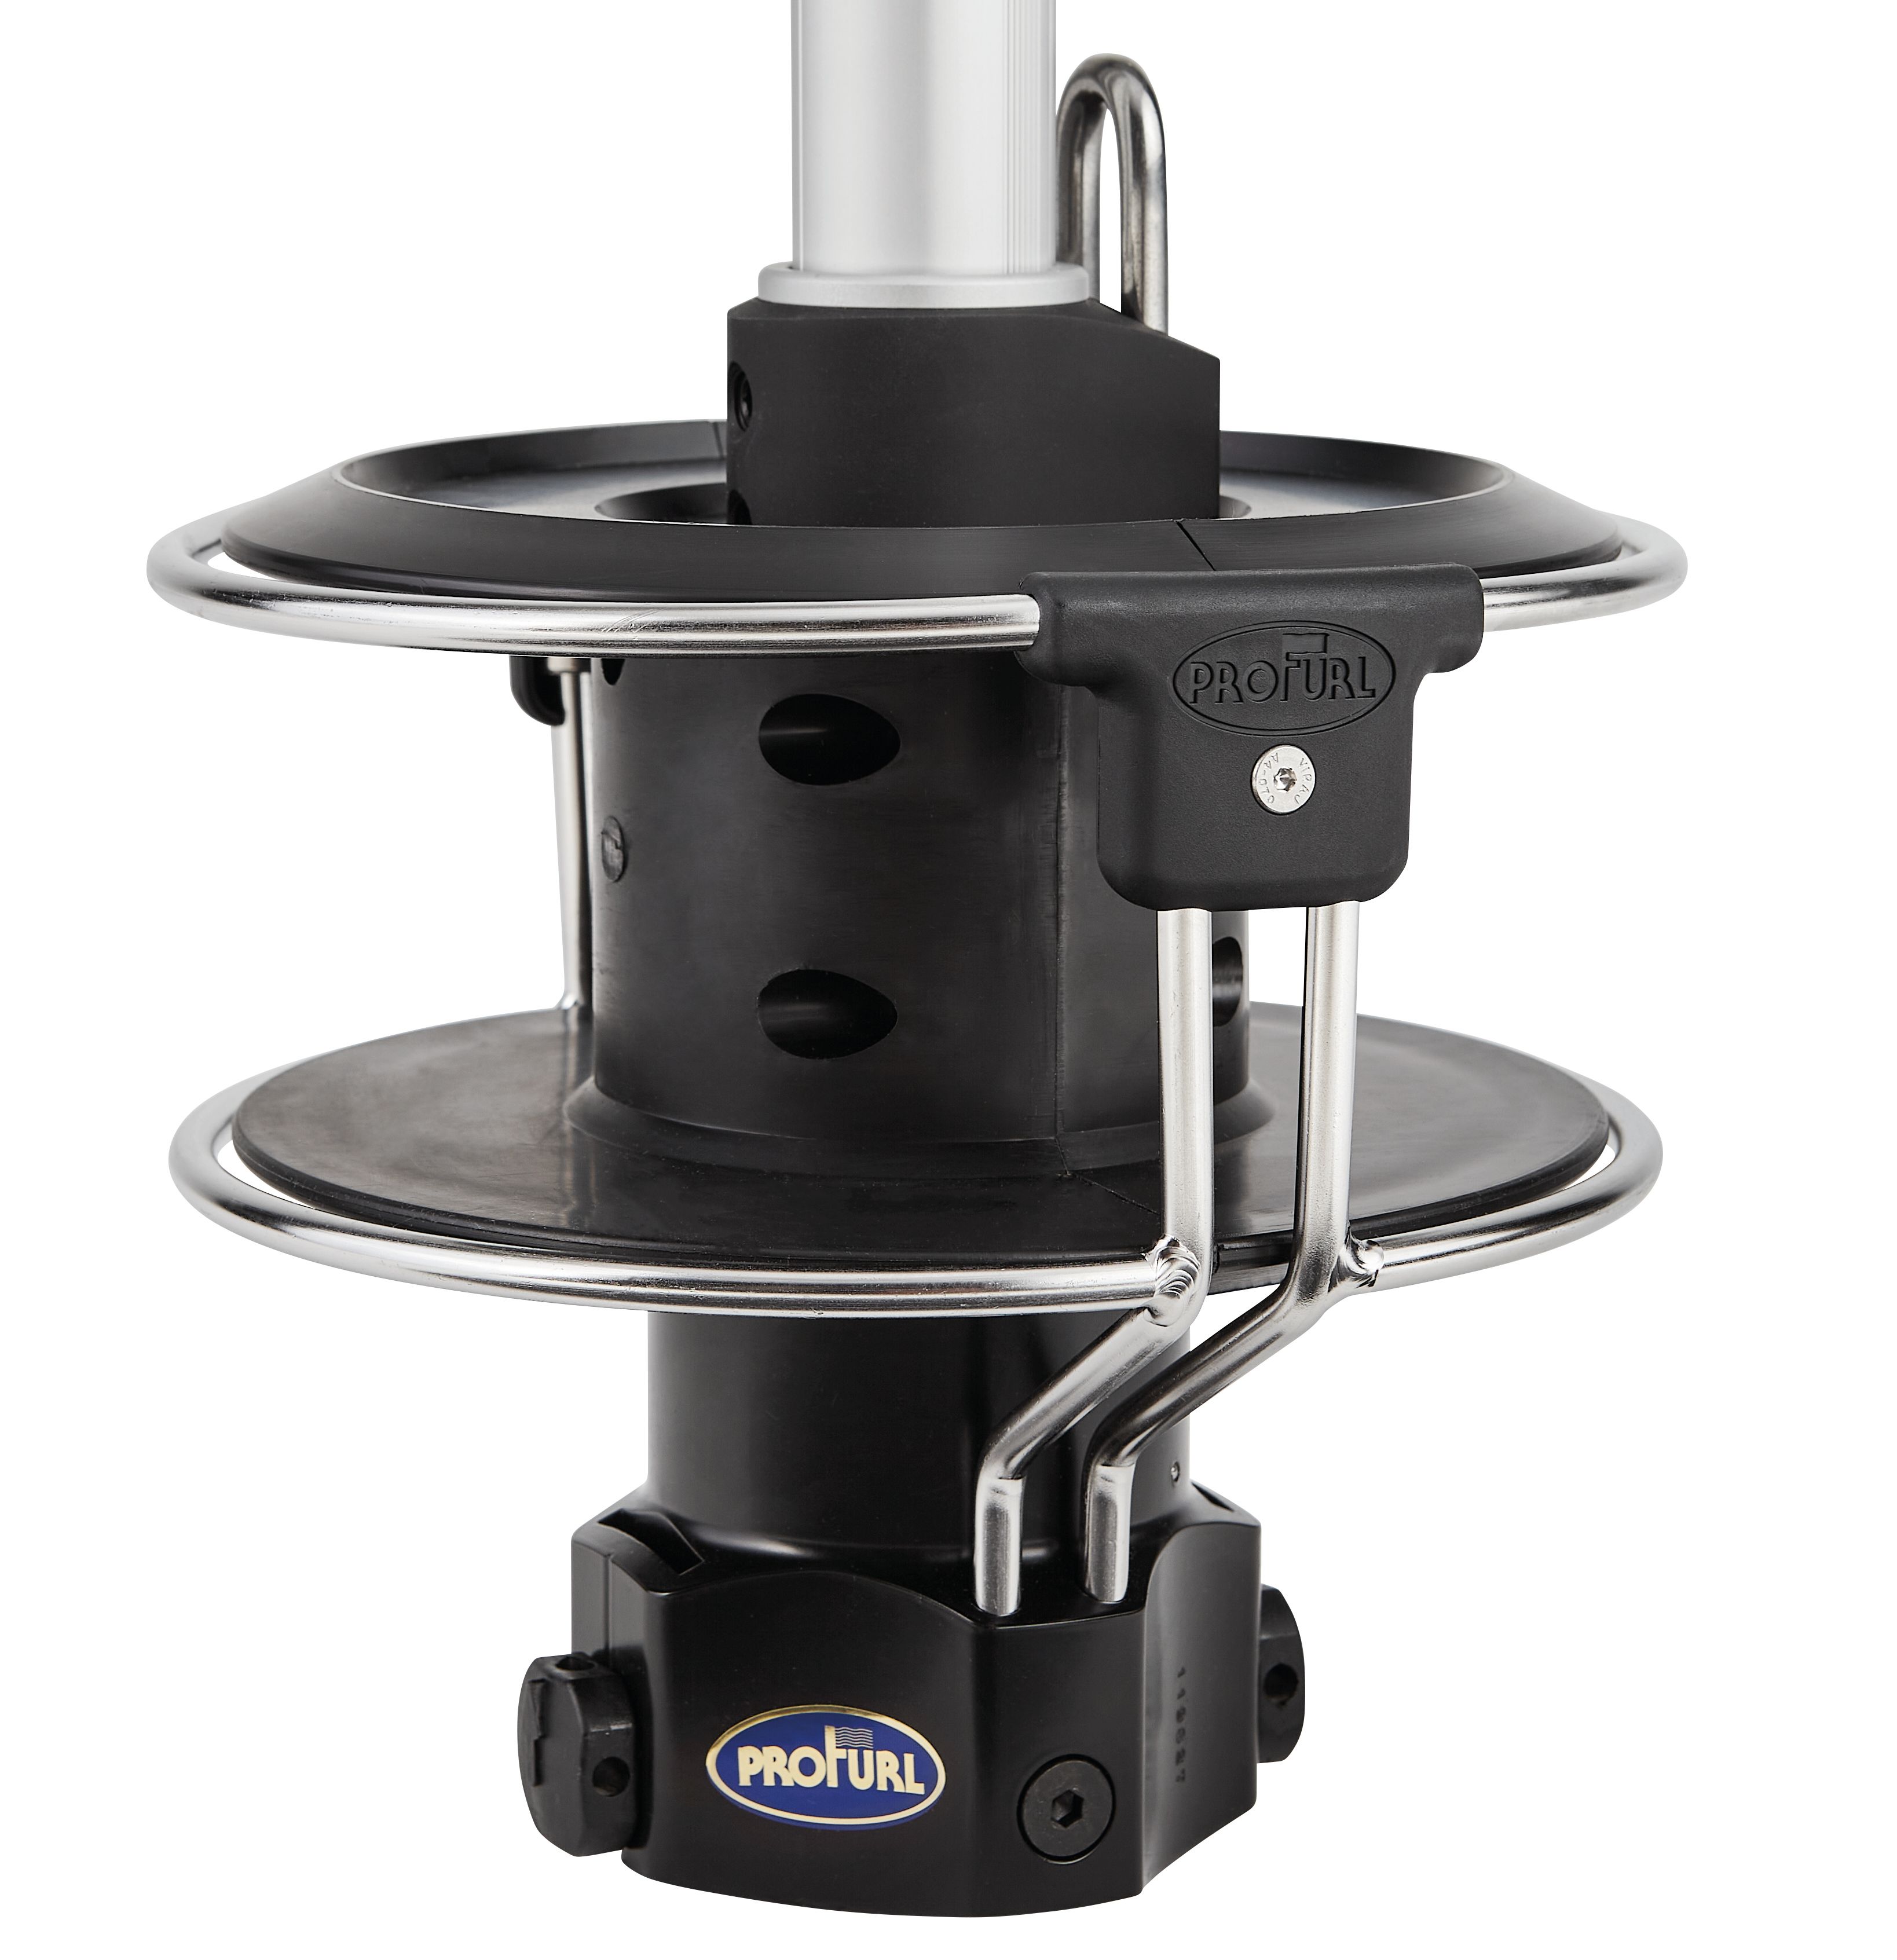
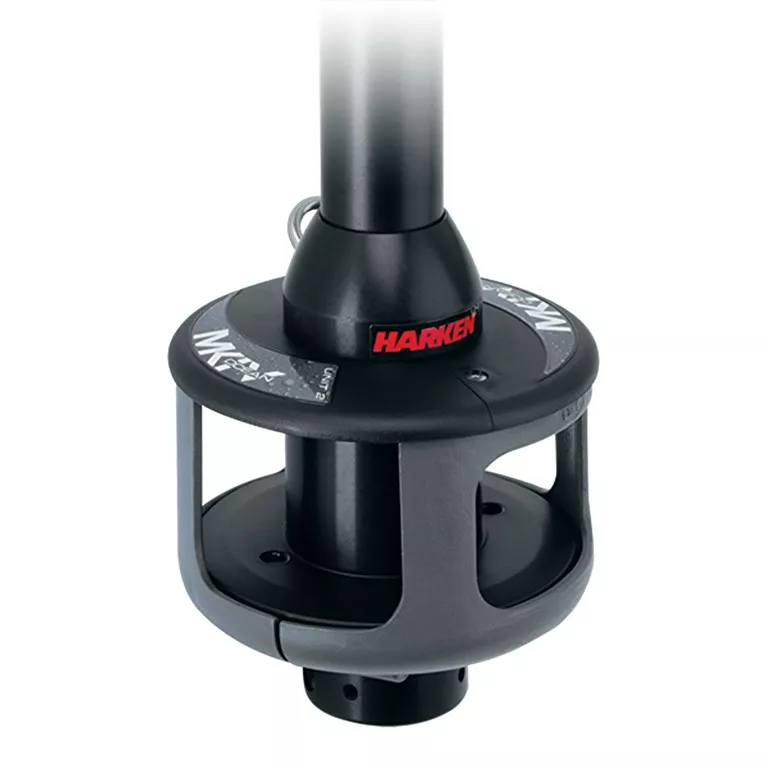
Different furler brands use different bearing types. Harken uses Torlon bearings that need no lubrication. Profurl uses sealed metal bearings that are also maintenance-free. Seldén Furlex bearings can be lubricated with a dry lubricant like McLube or Sail-Kote. Never use WD-40 or petroleum-based lubricants, as these damage seals and attract dirt.
4. Excessive forestay sag
Your roller furler wraps the sail around a straight foil attached to the forestay. When the forestay sags, the foil curves with it. Rolling a sail around a curved foil requires much more force than rolling it around a straight one. In extreme cases, the sail simply will not furl at all.
Forestay sag also damages your sail shape. The extra cloth in the middle of the sail creates a deep belly that hurts pointing ability. You end up with a sail that is hard to furl and performs poorly when you do get it unfurled.
Why does forestay sag happen?
The forestay is tensioned by the backstay on most boats. When backstay tension is too low, the forestay sags forward under the load of the sail. Strong winds make this worse because the sail pulls harder on the forestay.
Another cause is a stretched or worn forestay. Wire rope stretches over time under constant load. Rod rigging is more stable, but even rod can fatigue and elongate. If your backstay is tight but the forestay still sags, the stay itself may need replacement.
How to fix it
First, try increasing your backstay tension. Most boats have an adjustable backstay for exactly this purpose. Tension the backstay until the forestay looks straight with the sail up. You may need to experiment to find the right setting for different wind conditions.
If tensioning the backstay does not help, have a rigger inspect your forestay. They can measure the actual stretch and compare it to specifications. A stretched forestay should be replaced before it fails. This is especially important for offshore sailing where a forestay failure would be dangerous.
5. Foil section separation
The aluminium foil that covers your forestay comes in sections. These sections connect together to form a continuous tube. Small screws hold the joints together. If these screws back out, the foil sections can separate or shift.
When foil sections shift, they can pinch the luff tape of your sail. The sail gets stuck in the gap between sections. You cannot furl past this point, and you may not be able to unfurl or drop the sail either. This is a serious problem that usually requires going up the mast to fix.
Why do foil sections separate?
Vibration is the main cause. The constant motion of sailing works the joint screws loose over time. Each screw turns a tiny bit with every wave, every tack, every gust. Eventually, the screws back out far enough for the joint to fail.
Poor initial installation can also cause problems. If the screws were not properly tightened during installation, they will back out much faster. Some installers use thread-locking compound to prevent this, while others do not.
How to fix it
Inspect your foil joints at least once per season. Look for any gaps between sections or screws that are backing out. If you find loose screws, remove them, apply thread-locking compound, and reinstall. Check the joint alignment as you tighten.
If a joint has already separated and pinched your sail, you need to go up the mast. Carefully work the sail luff tape free from the gap. Realign the foil sections and secure them with new screws and thread-locker. While you are up there, check all the other joints too.
6. UV-damaged or swollen luff tape
Your headsail has a luff tape or bolt rope that runs up the front edge. This tape slides inside a groove in the furler foil. When the tape is in good condition, it slides smoothly as you furl and unfurl. But UV damage and moisture can cause the tape to swell or become sticky. Then the sail jams in the foil groove.
This problem is most common on older sails that have spent years exposed to sunlight. The UV protection on the luff tape breaks down over time. The underlying material degrades and swells. What was once a smooth surface becomes rough and grabby.
How to identify this problem
Drop your sail and inspect the luff tape carefully. Look for discolouration, stickiness, or swelling. Run your fingers along the tape. It should feel smooth and firm. If it feels tacky or soft, UV damage is likely the cause of your furling problems.
Also check the luff tape for physical damage. Chafe marks, fraying, or delamination can all cause the sail to jam in the foil groove.
How to fix it
Minor UV damage can sometimes be treated with a dry lubricant. Apply McLube or a similar product to the luff tape. This reduces friction and helps the sail slide more freely. However, this is a temporary fix. The underlying damage will continue to worsen.
For significant damage, the luff tape needs replacement. This is a job for a professional sailmaker. They will remove the old tape and sew on new material. While the sail is in the loft, have them inspect the rest of the sail for UV damage too.
Prevent future damage by always using your UV cover when the sail is furled. The cover protects the exposed part of the sail from sunlight. A few minutes to unzip the cover before sailing is much cheaper than a new luff tape.
7. Incorrect furling line size
The furling line must be exactly the right diameter for your drum. A line that is too thick will not fit properly in the drum grooves. It binds and jams as you try to furl. A line that is too thin does not fill the grooves. It can slip, tangle, or cut into itself under load.
This problem often appears after someone replaces the original furling line with whatever rope they had available. The new line might look similar, but even a millimetre difference in diameter can cause problems.
How to check your line size
Check your furler manufacturer specifications for the correct line diameter. Each drum size has a specific line diameter that works best. This information is in your owner manual or available from the manufacturer website.
Measure your current furling line with a calliper or line gauge. Compare it to the specification. If the line is wrong, replacement is the only solution.
How to fix it
Replace the furling line with the correct size. Use quality marine rope designed for this purpose. Polyester double braid works well for most systems. Make sure the line is long enough to fully furl your largest headsail with several wraps to spare on the drum.
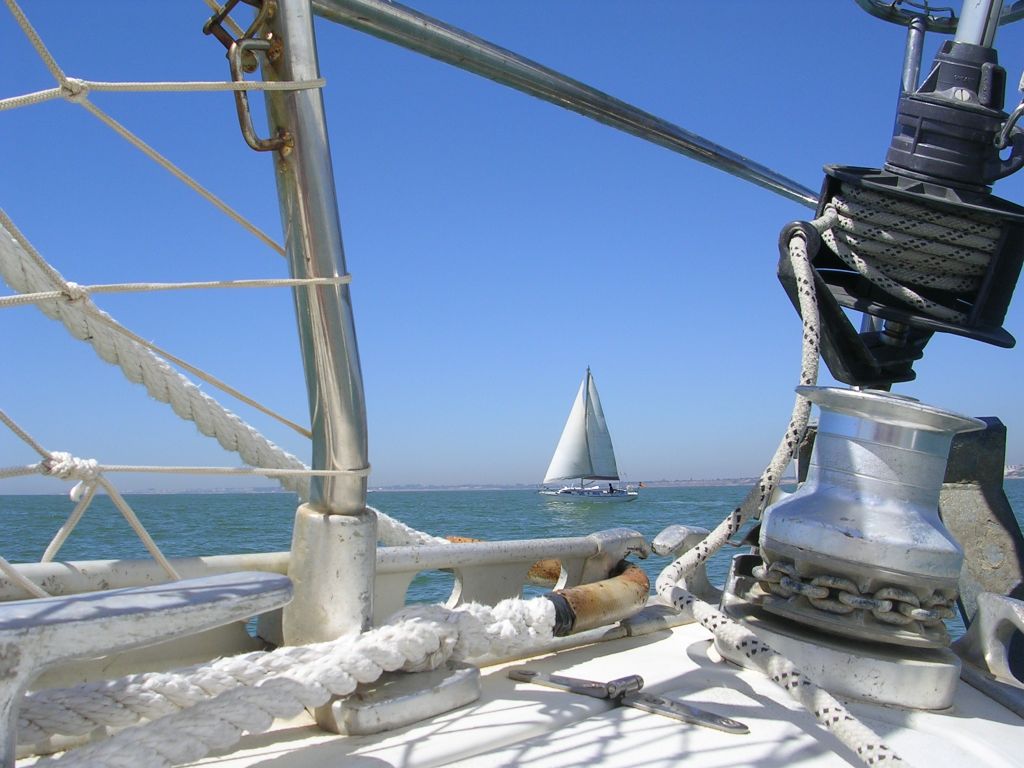
Troubleshooting on the water
What if your furler jams while you are sailing? The first priority is to get the boat under control. Bear away from the wind until the sail is depowered. This takes the load off the furling system and gives you time to diagnose the problem.
Try furling and unfurling gently while looking at the drum and the top of the mast. You might be able to see what is causing the problem. Sometimes a small adjustment is all you need to get moving again.
If you cannot fix the problem at sea, you may need to drop the sail manually. This requires someone to go forward to the mast. Release the halyard slowly and gather the sail as it comes down. Tie it securely to the rail until you can deal with it in port.
Prevention is better than repair
Most furling problems are preventable with regular maintenance. At the start of each season, flush your furler with fresh water and inspect all components. Check the halyard restrainer, foil joints, and bearings. Replace any worn furling line before it causes problems.
Quality equipment also makes a difference. Systems from Seldén, Profurl, Harken, and Facnor are designed for reliability and easy maintenance. When you do need parts or service, support is readily available.
Need help diagnosing a furling problem or choosing a replacement system? Contact our team for expert advice.