

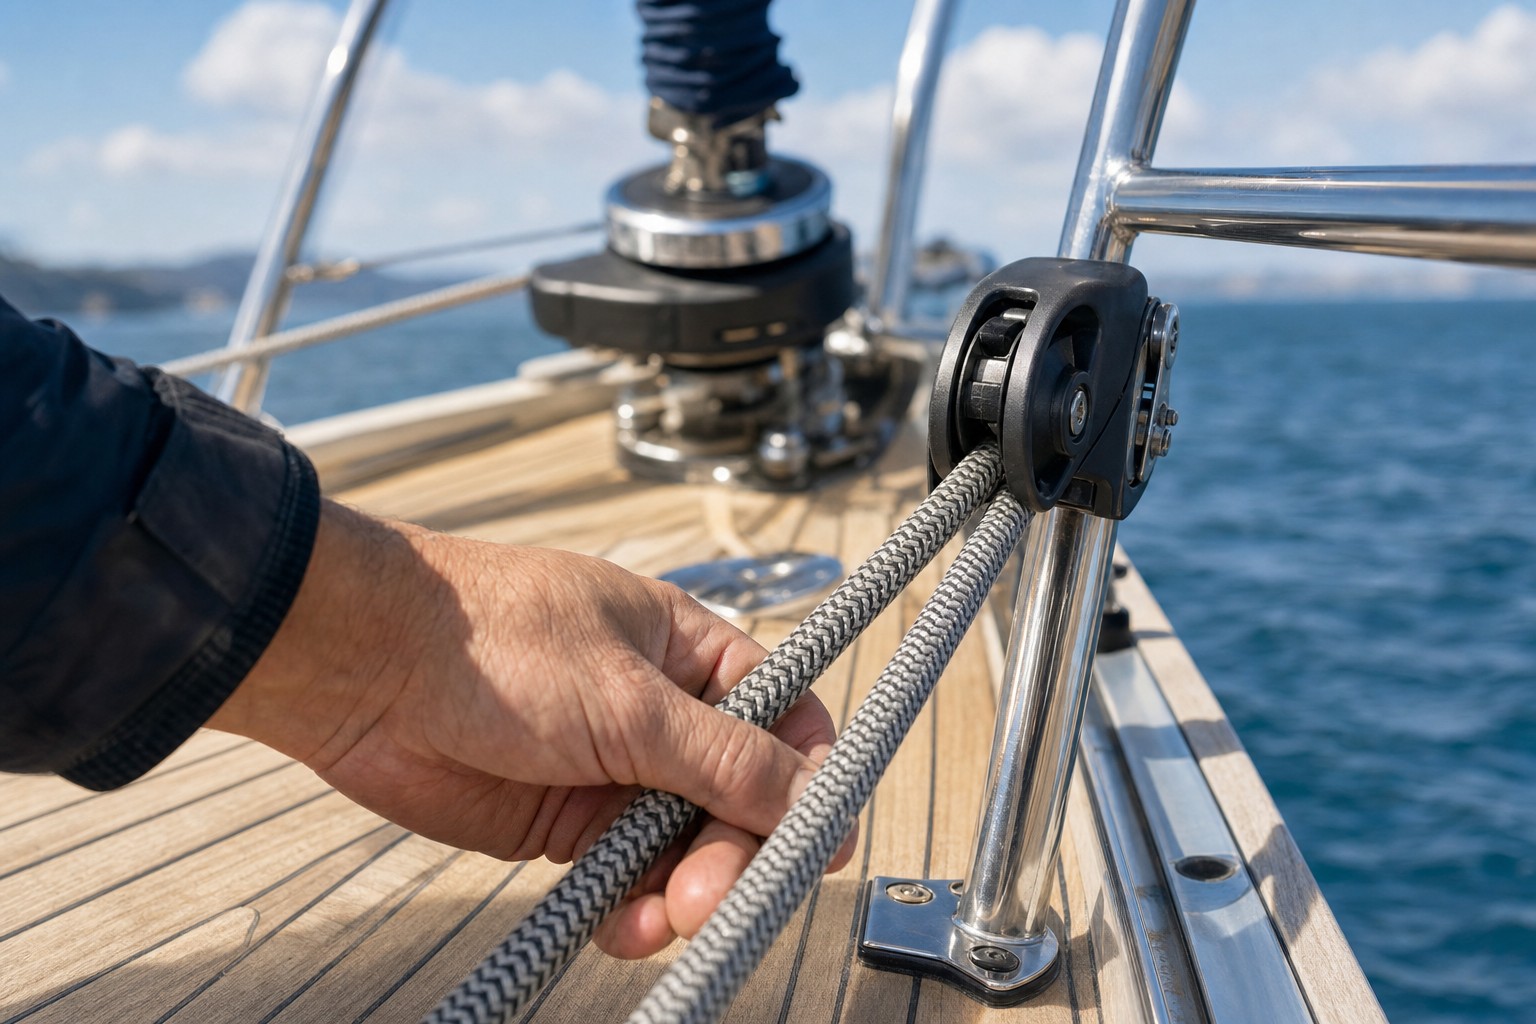
Order furling line for a Code 0 or gennaker and you'll hit a spec that never shows up on a genoa furler: the line is sold as a closed loop, and the length is listed as "2x" something, like 2x700cm. The genoa furler on the same boat uses a single line with one end fixed to the drum and one end in your hand. Measure and order the loop the same way you'd order genoa furling line and you'll come up short, or worse, end up with a loop that's twisted on itself the moment it's spliced.
The difference isn't a supplier quirk. It comes down to how the two systems are actually powered.
Why a genoa furler runs one line and a Code 0 runs a loop
A genoa furler only needs power in one direction. Pull the furling line and the drum winds the sail up around the foil. Ease that line and haul the sheet, and the load in the sail itself turns the drum the other way. The sheet is doing half the work, which is why a single line with a dead end on the drum is enough: the sail's own sheet tension supplies the counter-force to unfurl it.
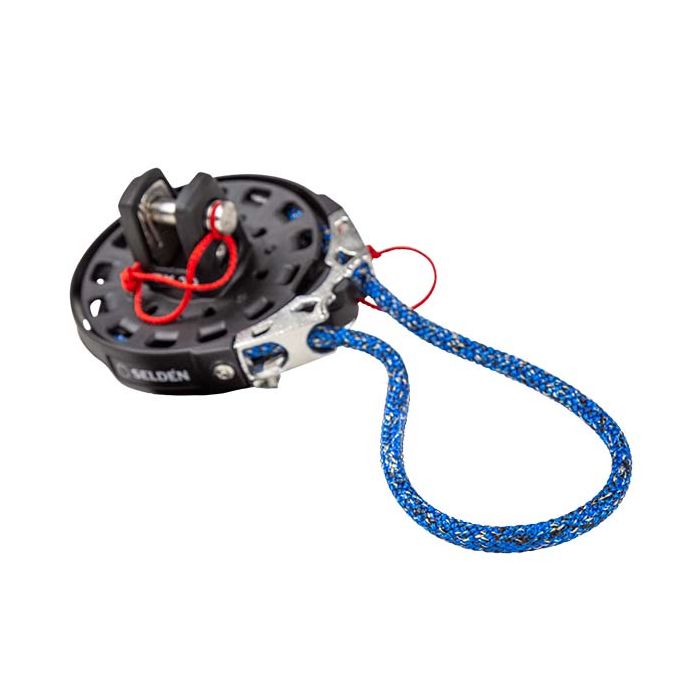
A Code 0 or gennaker doesn't give you that for free. These sails fly loose-luffed off a bowsprit or a tack line, usually without a genoa track and cars to generate steady counter-tension through the whole furl. If you're still deciding between the two setups, our Code 0 vs gennaker guide covers why that distinction matters before you even get to the line. Top-down furlers in particular need to drive the swivel down from the head with real, direct force rather than relying on the sail to help. So the line has to pull the drum in both directions with equal authority, which means both sides of it are under load at different moments. Splice the two ends of a single length together and you get exactly that: pull one side to furl and the other side feeds out through the fairleads and back to your hand; pull the other side to unfurl and it reverses. There's no dead end because there's no end at all. Hence "endless."
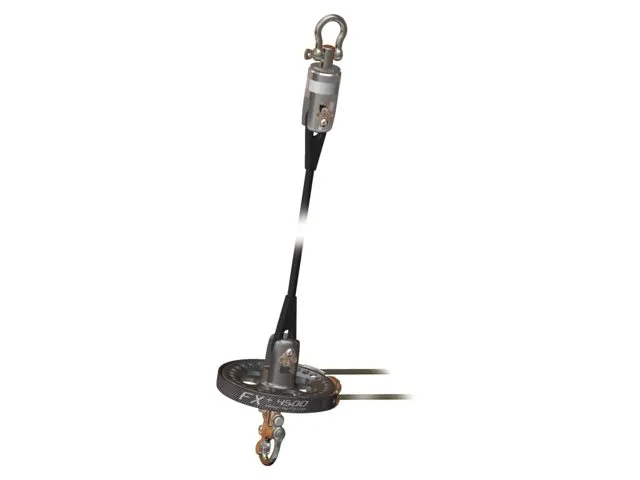
It's the reason 123Furling ships an endless furling line pre-spliced into a closed loop rather than as a length you'd cut and terminate yourself, and why a drum-driven system such as the Facnor FX+ is built around that loop instead of a single sheave-and-cleat arrangement.
The 2x measurement that trips up first-time buyers
Furling line for a Code 0 or gennaker is sold in fixed steps, from 2x400cm up to 2x1700cm. That "2x" isn't a typo and it isn't a safety margin doubled onto the real number. It tells you that the figure you're measuring is one leg of the loop, and the line ships at twice that length because a closed loop always has two legs running in parallel: one working leg and one return leg, identical in length by definition.
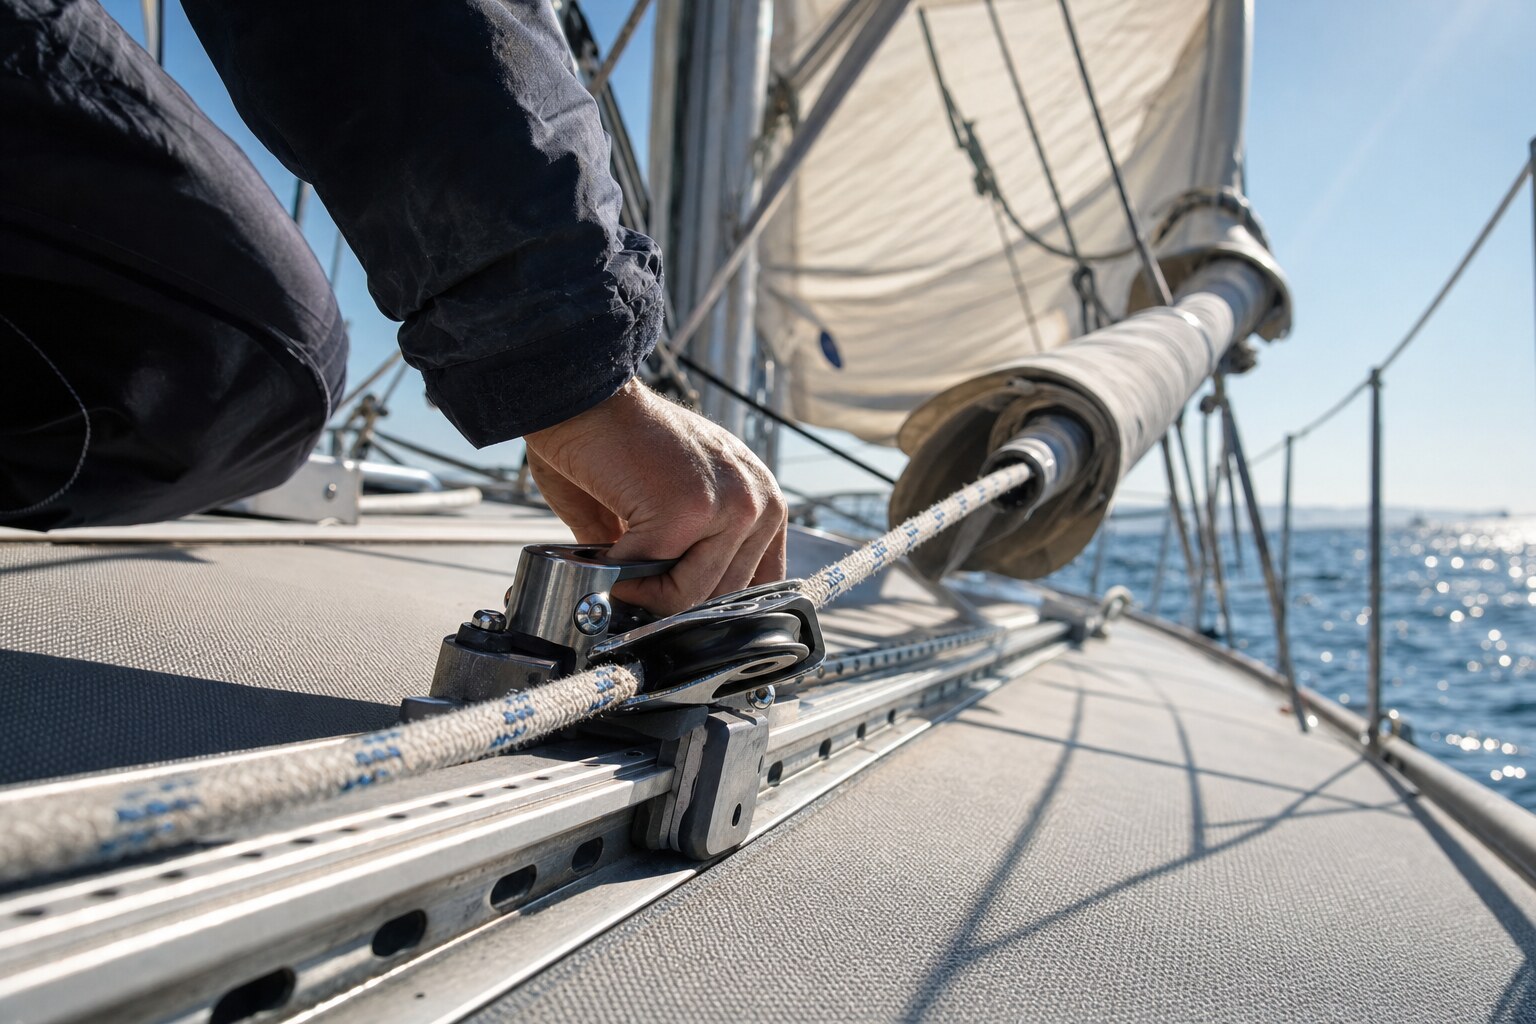
To measure it, run a tape, or a spare length of light line, from the drum, through the deck fairleads or stanchion blocks, back to wherever you'll cleat or clutch it in the cockpit. That distance is your "1x" figure. On a 34 to 38-foot cruiser with the drum at the bow and the lead running down one side deck, that's typically somewhere around 5 to 7 metres, which is why 2x500cm and 2x700cm are the sizes we sell most at 123Furling. A 45-footer with a longer foredeck and a lead run all the way aft to a cockpit winch often needs 2x800cm or 2x900cm instead. Round up rather than down: a loop that's slightly long just means more line to flake in the cockpit, but one that's too short won't complete a full furl before it runs out of travel at the clutch.
The mistake we see most often is sailors measuring the drum-to-cockpit distance once and ordering that number as the "2x" length, which delivers a loop half the size they actually need. If you're in doubt, measure generously and pick the next size up in the length table on the product page rather than the exact figure you got with the tape.
8mm, 10mm or 12mm: matching diameter to your drum
Diameter is a function of the drum groove, not boat length. An entry-level Code 0 drum like the one on a Facnor FX+ or a Seldén CX is cut for 8mm line. Go up a size and the extra turns on the drum won't seat properly, which is exactly what causes overrides and riding turns on an otherwise well-maintained furler. Step up to a heavier gennaker system such as a Profurl Spinex or a Harken Reflex Gennaker, and the drum groove is usually cut for 10mm, sometimes 12mm on the largest sizes, because both the loads and the winch or clutch handling the line scale up with it.
If you're not certain which your system takes, check the manufacturer's manual for your specific drum rather than guessing from sail area alone. Two boats with a similarly sized Code 0 can end up with different drums depending on the furler brand, and 8mm line on a 10mm groove will jump and jam under load in exactly the way undersized genoa furling line does, which we cover in more depth for genoa systems in our furling line diameter guide.
Splicing and installing the loop without wrecking it
A spliced endless line ships ready to fit, but if you ever replace or shorten one yourself, the technique rigger threads on Cruisers Forum and YBW keep coming back to is a cover-to-cover splice with the core stripped out of both ends, so the joint doesn't add bulk that catches on the fairleads as it runs. A fat or tapered splice is the single most common cause of a loop starting to override at the same point on every furl, because that thicker section keeps meeting the same block or drum edge on each cycle.
Installing it is a two-person job the first time. Route the line through the drum and every fairlead or turning block before you make the final splice, not after, because a closed loop can't be threaded through a fairlead once it's joined. Keep even tension on both legs while you do it. A loop that goes on with one side twisted around the other will run rough for the rest of its life, and that's not something a re-splice fixes afterwards.
How an endless loop actually wears, and where to check it
A single genoa furling line wears fairly evenly along its length, since most of it spends its life either wound on the drum or coiled in the cockpit. An endless loop wears unevenly, because the same short sections pass over the drum groove and the fairleads on every single furl and unfurl cycle, while the slack bight sitting in the cockpit barely moves at all. Inspect the sections that ride over the drum and the deck blocks first: fuzzing, flat spots, or a stretch that's visibly thinner than the rest of the loop will show up there long before the line looks worn anywhere else.
Once a working section feels noticeably thinner under your fingers than the rest of the loop, replace the line instead of re-splicing around the worn patch. A patched loop still has to run smoothly through the same fairleads, and a splice sitting exactly where the wear was concentrated tends to let go at the next reef in a breeze rather than quietly at the dock.
Not sure whether your Code 0 or gennaker takes 8mm, 10mm or 12mm, or how to measure your own lead for the 2x length? Tell 123Furling your furler's brand and model and we'll confirm the right size, or check the length and diameter options directly on the endless furling line product page.