


Winter is coming. Your roller furler worked hard all season. Now it needs proper care to stay in good condition. A little maintenance now prevents big problems next spring. This guide shows you exactly what to do.
Why Winter Preparation Matters
Your roller furler faces harsh conditions during winter. Salt water sits inside the system and causes corrosion. Ice can form in the bearings. UV light from the sun damages the sail fabric even when you are not sailing. Wind constantly moves a furled sail back and forth. This movement wears out the stitching and cloth.
A well-maintained furler lasts 15 to 20 years. A neglected one may need replacing after just 5 years. The difference is winter care. You spend 10 to 15 minutes now. You save hundreds or thousands of euros later.
Should You Remove the Sail or Leave It On?
This is the most common question. The answer depends on your situation.
Remove the sail if: You live in an area with freezing temperatures. Ice damages sail cloth and stitching. Remove the sail if you cannot check your boat regularly during winter. Strong winter storms can damage a furled sail. Also remove it if your sail is old or already shows wear. Winter will make existing damage worse.
You can leave the sail on if: Your area has mild winters without freezing. Check that your furler has a good UV protection strip. This strip must cover the entire furled sail. You need to visit your boat at least once per month. Check that the sail is still tightly furled and the UV strip is in place.
Most sailors remove their sails for winter. It is the safer choice. You can inspect the sail properly at home. You can repair any small problems before next season.
Step 1: Remove and Store the Sail
Pick a calm day for this job. You need light wind or no wind at all.
First, furl the sail completely. Make sure it is tight and neat. Release the halyard tension slowly. Someone should hold the furling line to stop the sail from unrolling. Lower the sail carefully. Do not let it fall into the water.
Take the sail home. Check it for damage. Look at all the stitching carefully. Check the UV strip. Look for any tears or weak spots in the cloth. Small repairs are cheap now. Big tears are expensive later.
Wash the sail with fresh water. Use a soft brush for any dirty spots. Never use strong cleaning chemicals. Let the sail dry completely. Store it in a dry place. A sail bag is good. A dry garage or storage room works well. Do not store sails in damp basements.
Step 2: Clean and Flush the System
Salt water is your furler's enemy. It sits inside the system and causes corrosion. Cleaning removes this salt.
First, furl and unfurl the system several times. Do this without a sail attached. This moves any dirt or debris out of the system. Watch the foil as it turns. It should move smoothly. Any rough spots or grinding sounds mean problems that need attention.
Now flush the system with fresh water. Use a garden hose if possible. Spray water into the top of the furler. Let it run through the system and out the bottom. Turn the furler while you spray. This helps water reach all the internal parts. Flush for at least 2 to 3 minutes.
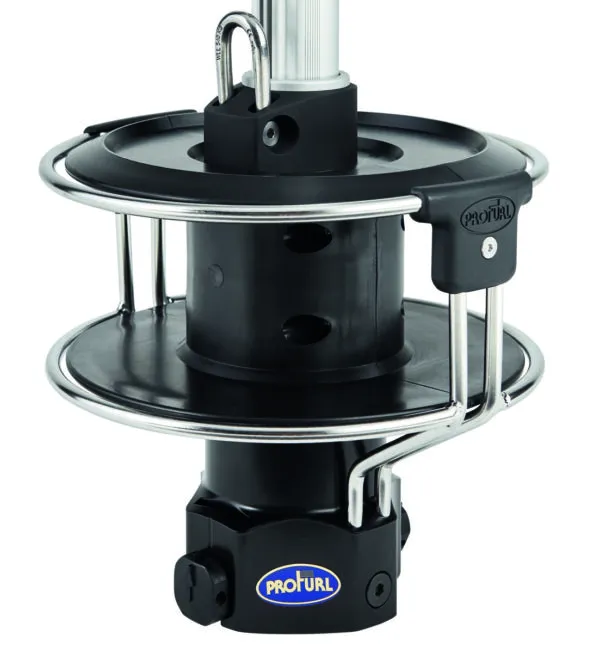
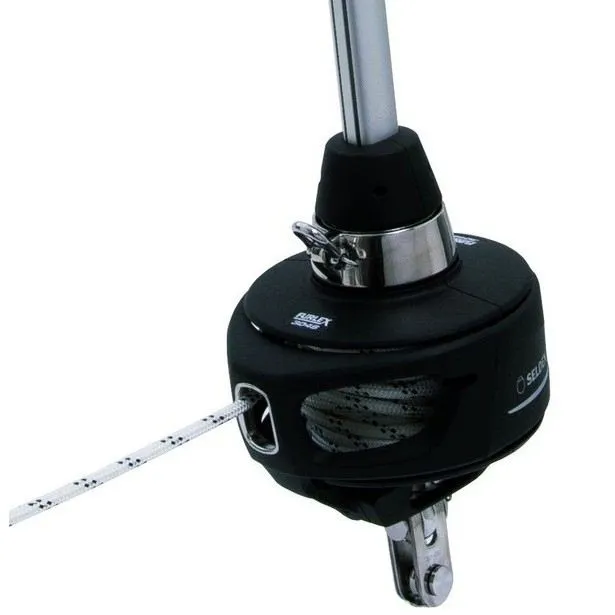
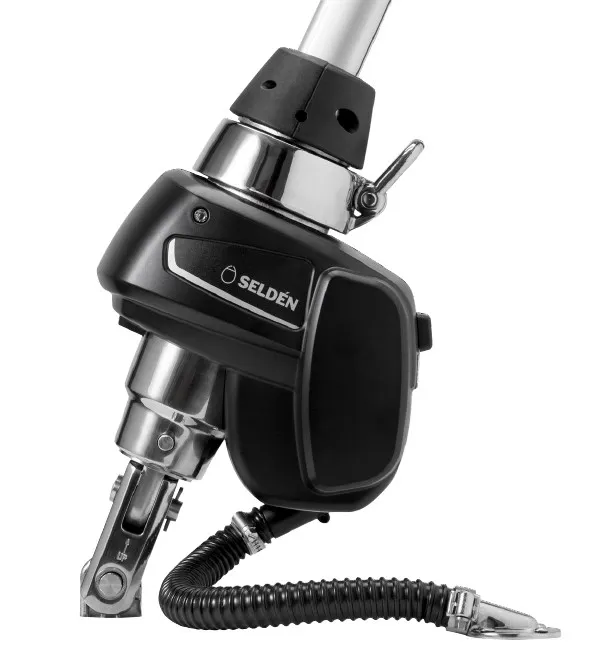
For systems like the Seldén Furlex or Profurl C-System, pay extra attention to the drum area. This is where salt builds up most. Flush it thoroughly.
Step 3: Inspect All Components
Walk around your furler. Look at every part carefully.
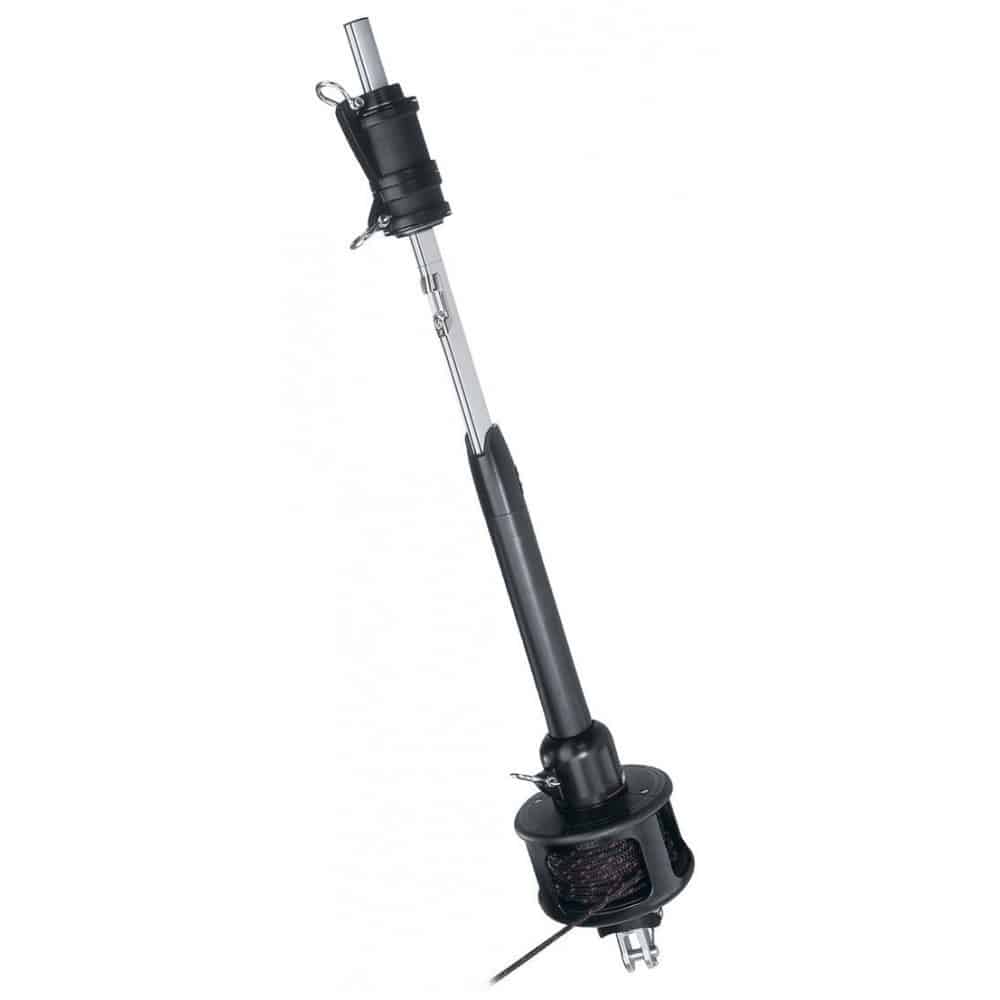
Check the foil joints: These are where foil sections connect together. Look for any cracks or damage. Make sure all fasteners are tight. Loose foil sections cause problems when sailing. They can even fall apart in strong wind.
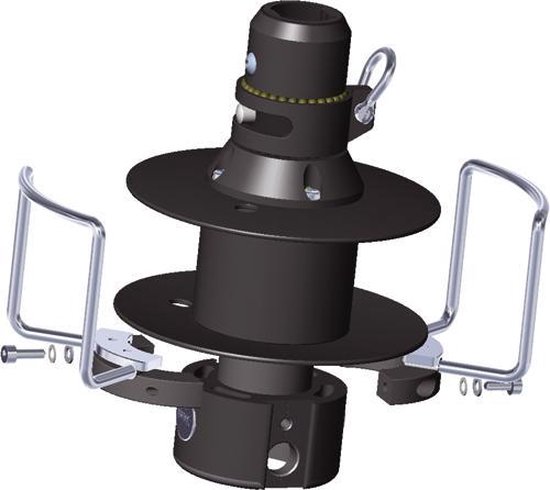
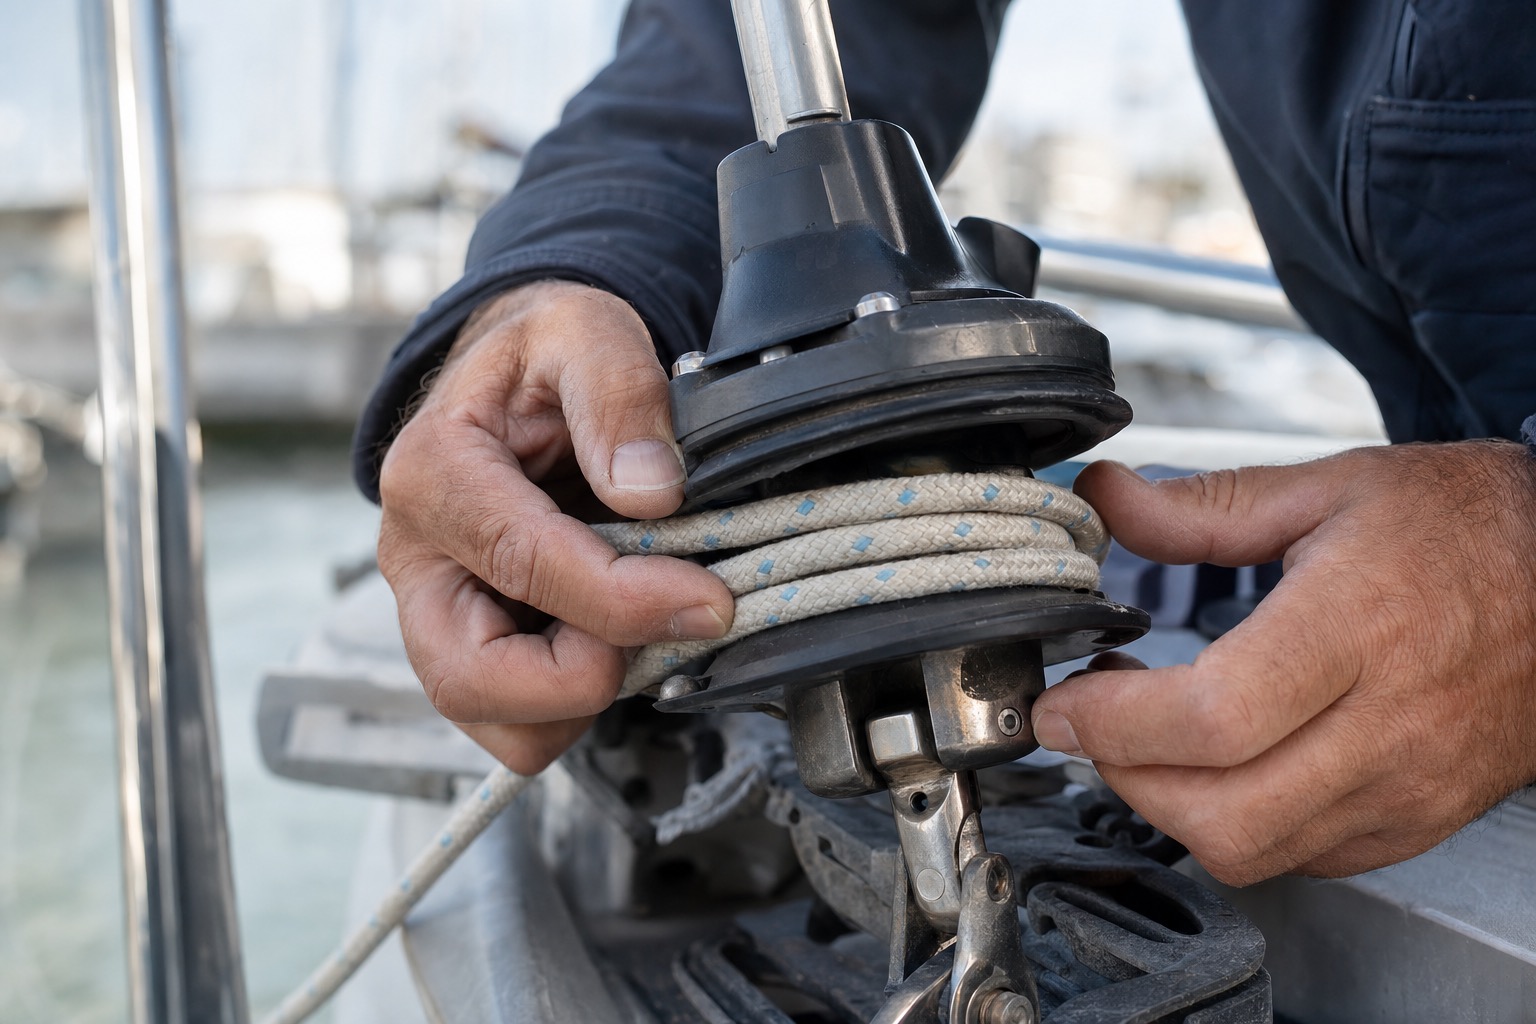
Inspect the drum: Look for cracks in the plastic or metal. Check that it spins freely. It should turn smoothly with no grinding or catching. Test the furling line attachment point. It must be secure.
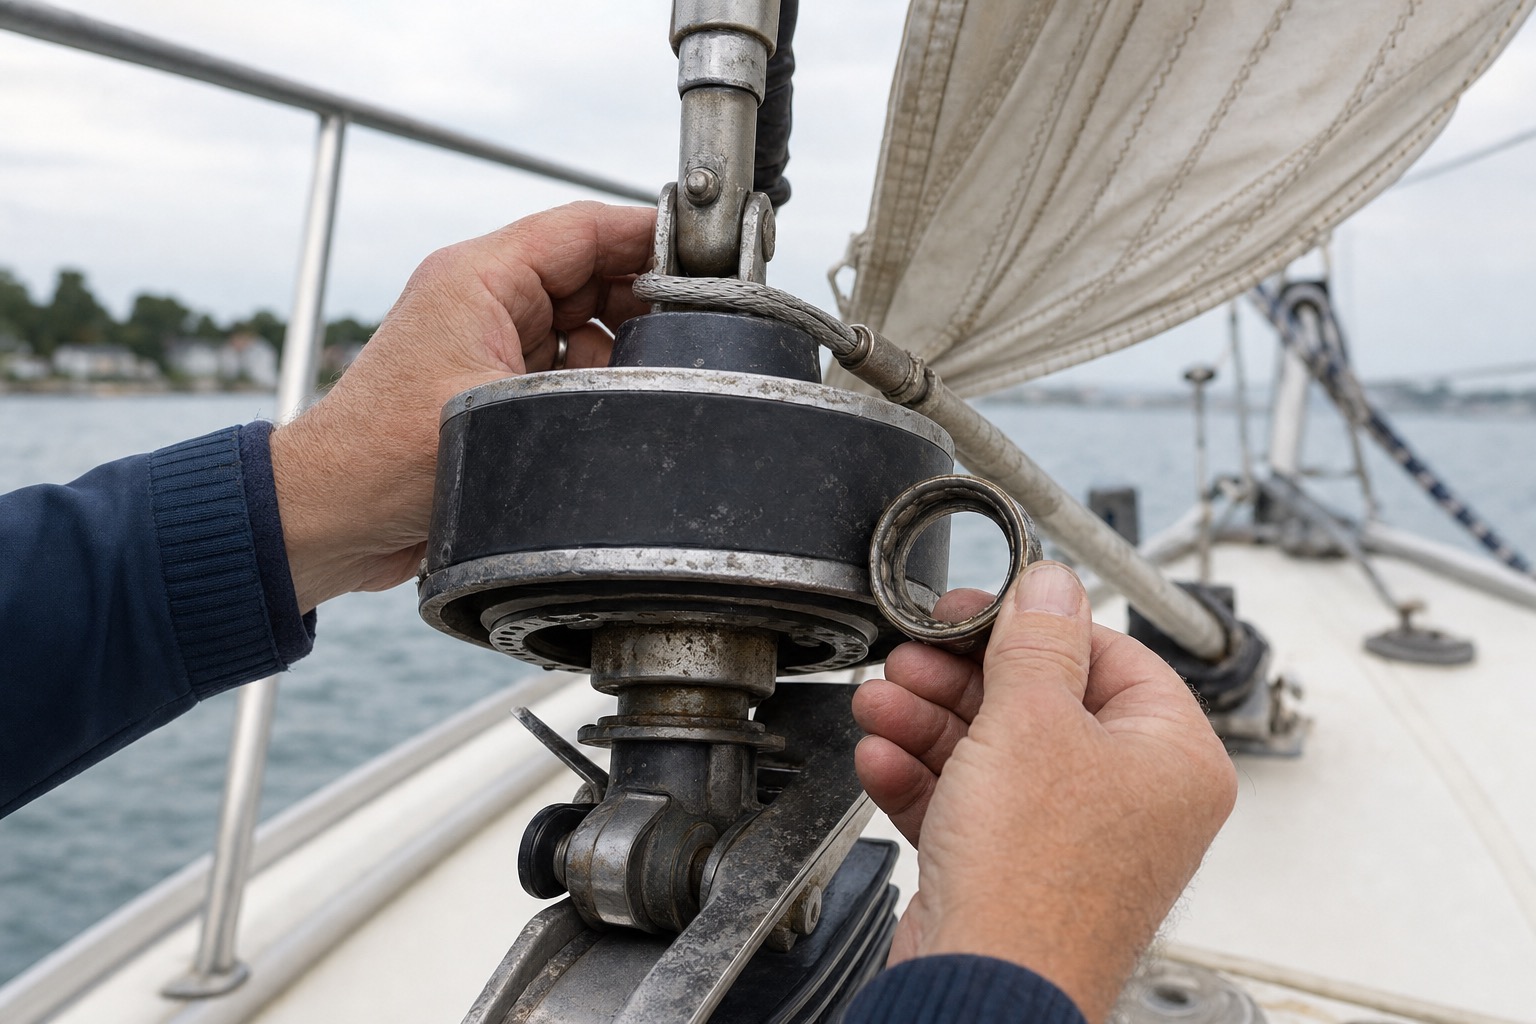
Examine the top swivel: This is the hardest-working part of your furler. It carries the full load of the sail. Look for any play or looseness. Grab the swivel and try to move it. A little movement is normal. Too much movement means worn bearings.
Check all fasteners: Look at every bolt, pin, and cotter pin. Make sure nothing is loose or missing. Replace any worn cotter pins. They are cheap but important for safety.
Step 4: Bearing Care and Lubrication
Bearings keep your furler turning smoothly. They need proper lubrication to survive winter.
Most modern furlers use sealed bearings. Systems like the Harken MKIV System and Facnor LS System have these. Sealed bearings do not need much maintenance. Just flush them with fresh water. The seals keep water and salt out.
Some older furlers have open bearings. These need grease. Check your furler manual. It tells you where to apply grease and what type to use. Marine grease is best. It resists water and salt. Apply grease according to the manual instructions. Too much grease attracts dirt. Too little grease causes wear.
For electric furlers like the Seldén Furlex Electric, check the motor housing. Make sure all seals are intact. Water in the motor causes expensive damage.
Step 5: Release Tension
Your furler stays under load all season. Winter is time to give it a rest.
Release some tension on the forestay. You do not need to remove all tension. Just reduce it by about 20 to 30 percent. This takes stress off the bearings and swivels. It helps them last longer.
How much you can release depends on your boat. Some boats need forestay tension to support the mast. Check with a rigger if you are not sure. Never release so much tension that your mast bends or moves.
Also release the furling line. Leave it loose during winter. This prevents the line from stretching or developing permanent kinks.
Protecting Against UV and Weather
Even without a sail, your furler faces damage from sun and weather.
Cover the drum with a protective cover. You can buy these or make one from canvas or UV-resistant fabric. The cover protects plastic parts from UV damage. Plastic becomes brittle after too much sun exposure.
Check the furling line. UV light damages ropes. If your line looks faded or feels rough, replace it before next season. A new furling line costs 30 to 60 euros. A sail that unfurls by accident costs much more.
Special Care for Through-Deck Systems
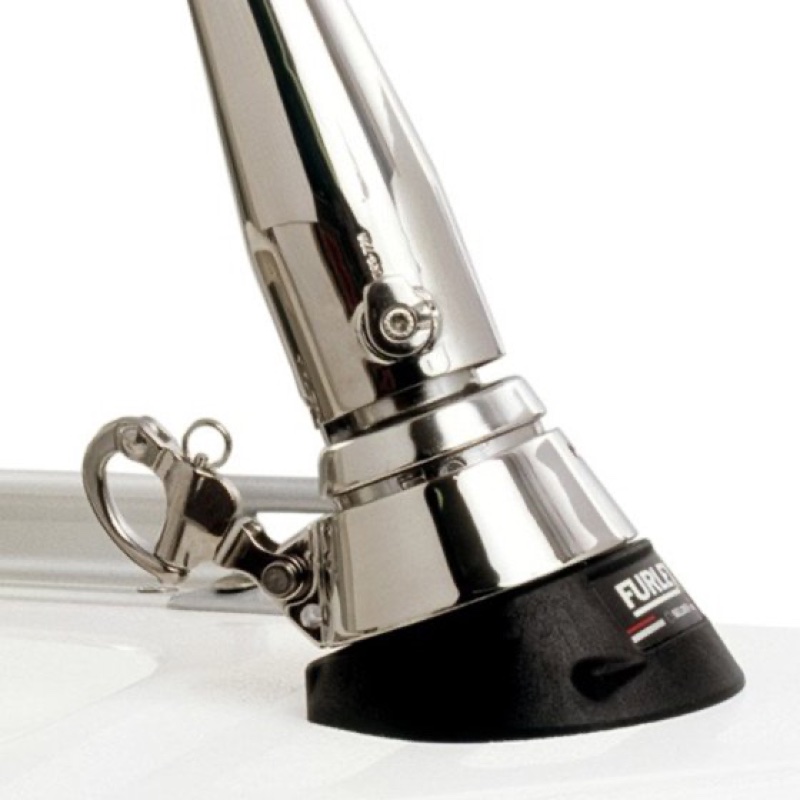
Systems like the Seldén Furlex Through Deck need extra attention. Water can enter the boat through the deck opening.
Check the deck seal carefully. Look for any cracks or gaps. Press on the seal. It should feel firm and flexible. Hard or cracked seals need replacing. Water leaks cause damage inside your boat.
Make sure the drum cover is secure. Rain and snow should not enter the system. Some sailors add extra protection with plastic bags or waterproof tape. Just make sure air can still circulate. Trapped moisture causes more problems than rain.
Winter Storage Checklist
Use this checklist to make sure you did everything:
- Sail removed – Washed, dried, and stored in a dry place
- System flushed – Fresh water run through for 2-3 minutes
- All parts inspected – Foil, drum, swivel, and fasteners checked
- Bearings maintained – Flushed or lubricated according to type
- Tension released – Forestay and furling line tension reduced
- Covers in place – Drum and other components protected from UV
- Furling line checked – Replaced if showing wear or UV damage
- Deck seals inspected – For through-deck systems
Spring Commissioning Checklist
When spring arrives, prepare your furler before the first sail:
- Remove all covers – Take off drum covers and protective materials
- Restore tension – Return forestay to proper sailing tension
- Test operation – Furl and unfurl several times without the sail
- Check for winter damage – Look for any new cracks or wear
- Inspect furling line – Make sure it runs smoothly through all blocks
- Reinstall sail – Hank it on carefully, checking all connections
- Tension halyard – Raise sail and apply proper tension
- Test furling – Furl and unfurl completely several times
- Check UV strip alignment – Make sure it covers the furled sail properly
When to Call a Professional
Some jobs need professional help. Call a rigger if you notice:
Bearings that grind or catch when turning. This means they are worn out. Replacing bearings requires special tools. Any cracks in the foil or drum. These are safety issues. Damaged parts can fail while sailing. The swivel has too much play. This means worn bearings inside the swivel. Swivel repair is a precision job.
Strange noises when operating the furler. Clicking, grinding, or popping sounds mean problems. The system is difficult to operate. Furling should be smooth and easy. Difficult operation means something is wrong.
Professional maintenance costs 100 to 300 euros depending on the work needed. This is cheap compared to replacing a damaged furler. Prevention is always cheaper than repair.
Conclusion
Winter maintenance keeps your roller furler working perfectly for many years. The work takes just a few hours. You can do most of it yourself. The result is a furler that works smoothly next season. You avoid expensive repairs and replacements.
Start by removing your sail. Flush the system with fresh water. Inspect all parts carefully. Maintain the bearings. Release some tension. Protect everything from UV light. Follow the spring checklist before sailing again.
Your furler is an important part of your sailing system. Take care of it. It will take care of you for many seasons to come.
Need help choosing the right furler system or finding replacement parts? Contact our team for expert advice.